English
ogp
Just by reading this page…
  • Even if it’s your first time playing Minecraft Java Edition, you’ll learn how to start MiniaTuria Legacy.
  • You’ll learn how to install Continuity (the connected textures mod) in a Fabric setup.
  • You’ll prepare an environment where you can also add other mods, like shaders.
  • ⚠️ Tip: Click images to enlarge.
For people who only want the essentials

1. Create a Profile

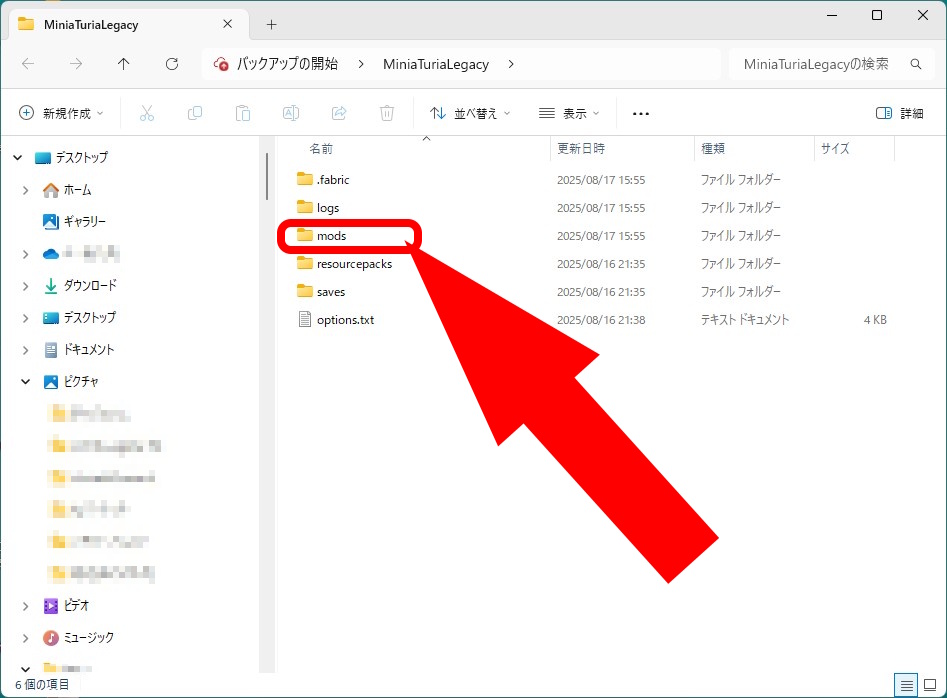
If you play Minecraft Java Edition with mods, it’s safer to keep it separate from your usual environment ⚠️ Create a dedicated folder for MiniaTuria Legacy and keep your mods, resource packs, and world saves inside it. Then create a Launcher profile so Minecraft always launches using that folder.

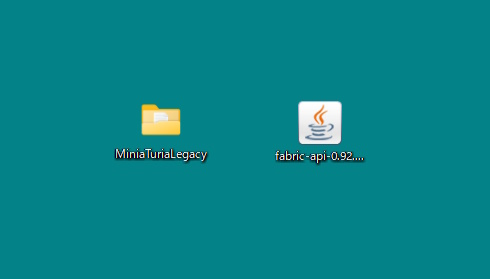
Create an empty folder anywhere you like (inside the C drive is a safe choice). I keep it on the Desktop because screenshots and files are easier to find. Use only letters and numbers for the folder name. In this guide, we’ll name it MiniaTuriaLegacy.

Next, install the official Minecraft Launcher. If you’ve already played Java Edition before, you can skip to Step 6.
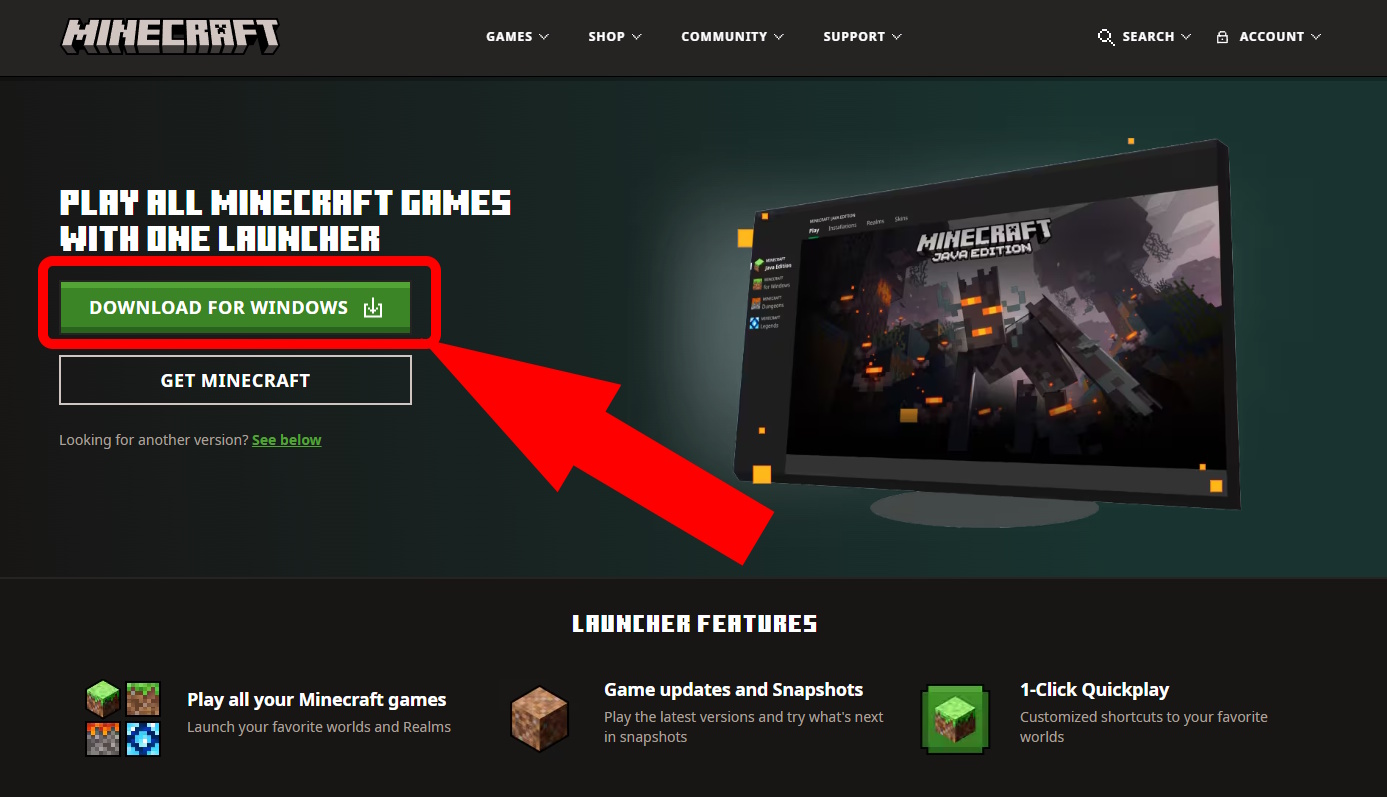
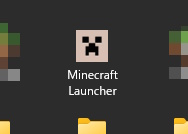
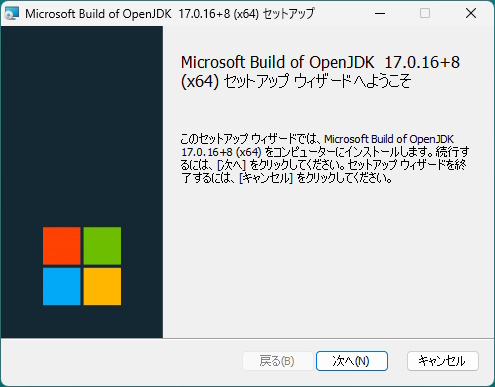
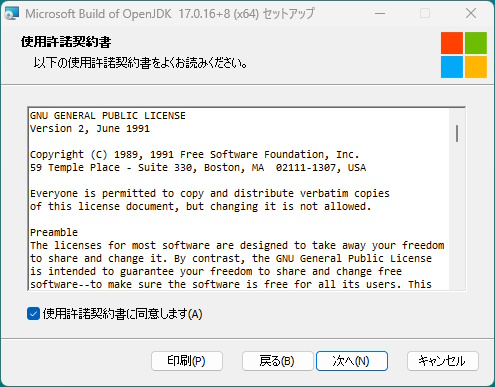
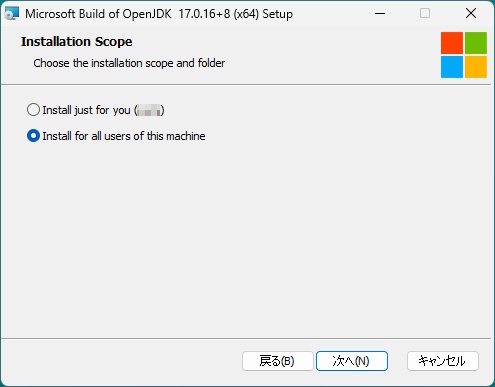
Follow the installer steps. Once the launcher (creeper face icon) is installed, open it.

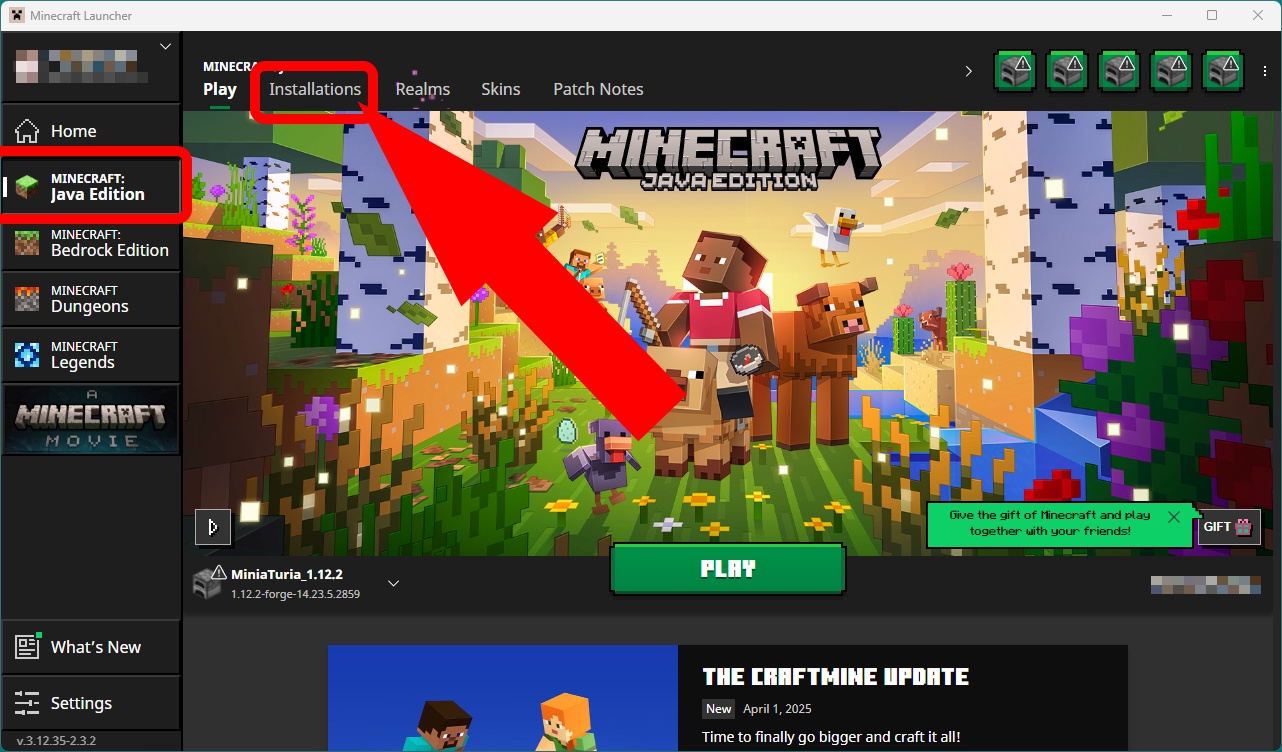
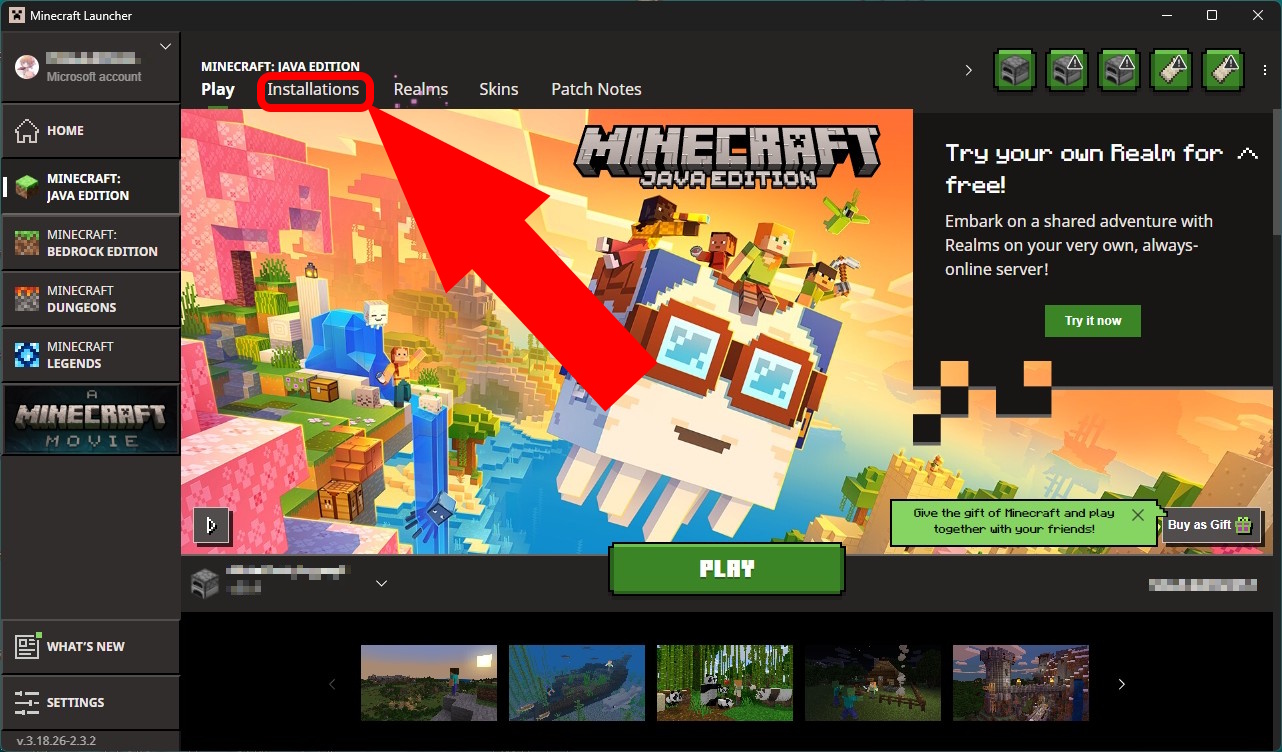
Open the launcher → select MINECRAFT: Java Edition → open Installations.

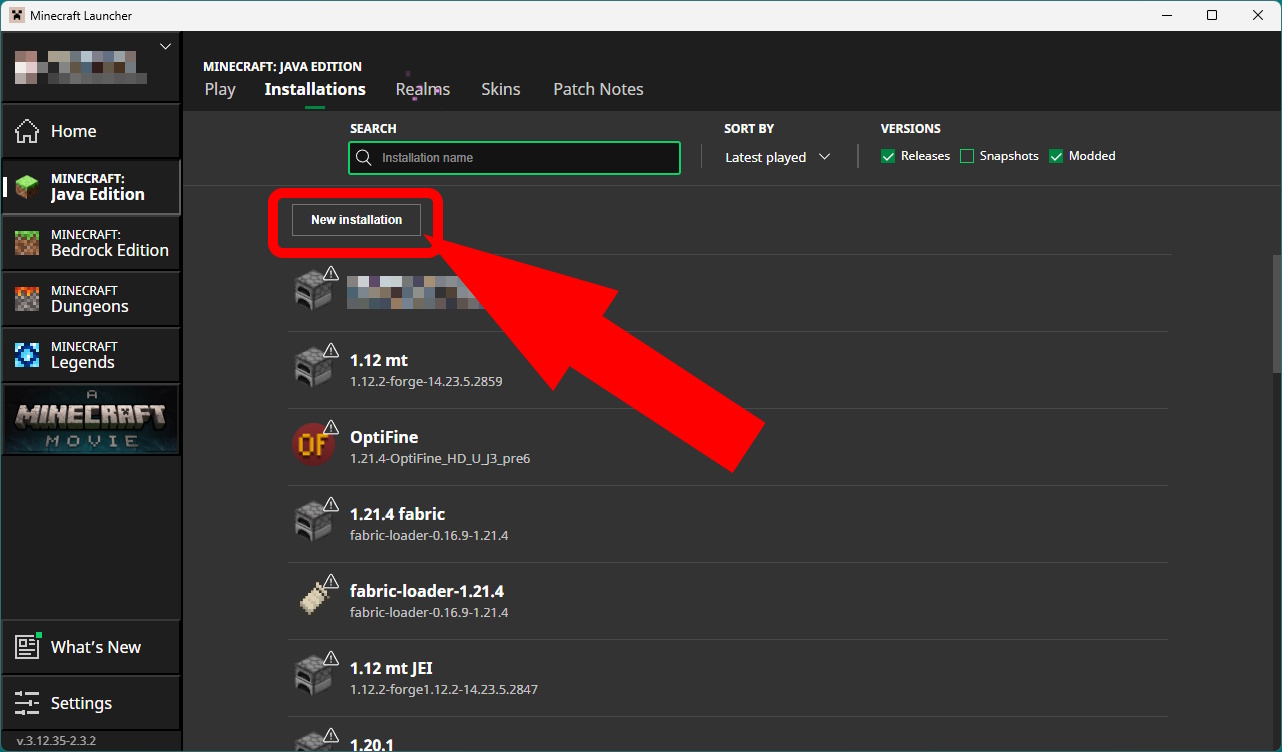
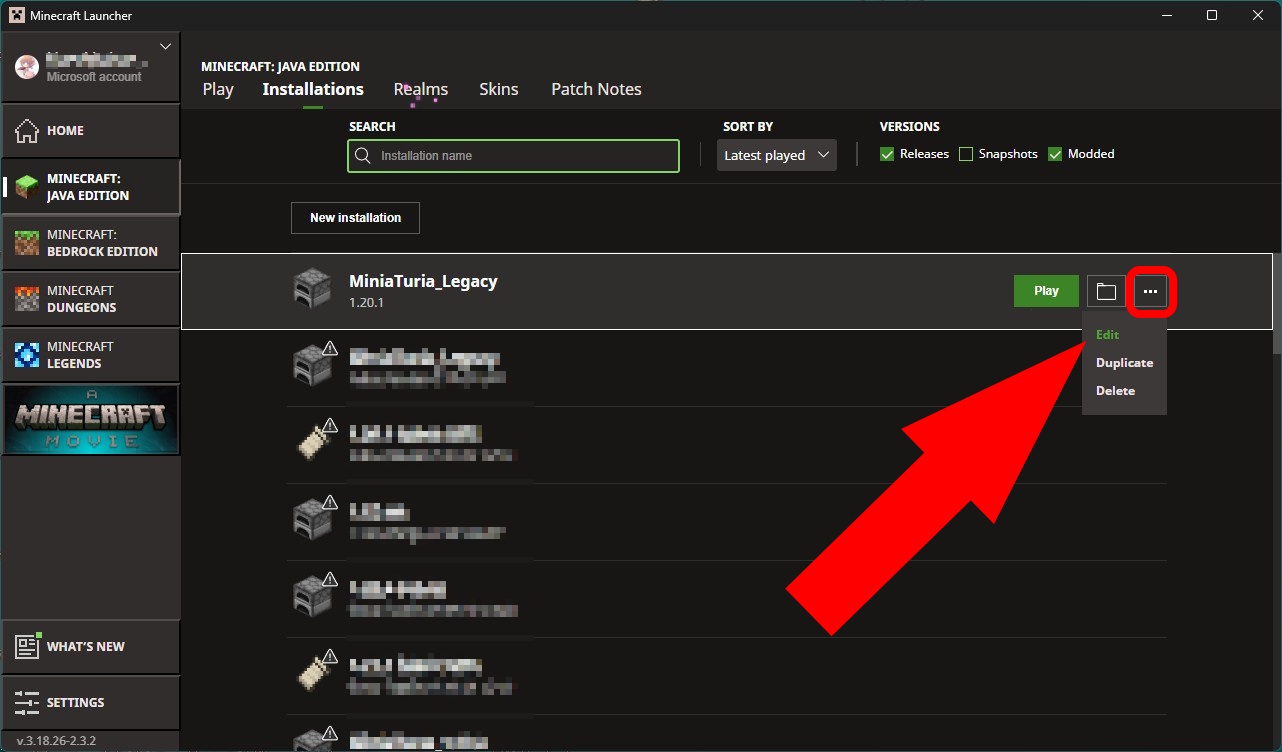
Click New installation (if it’s your first time, the list should be empty).

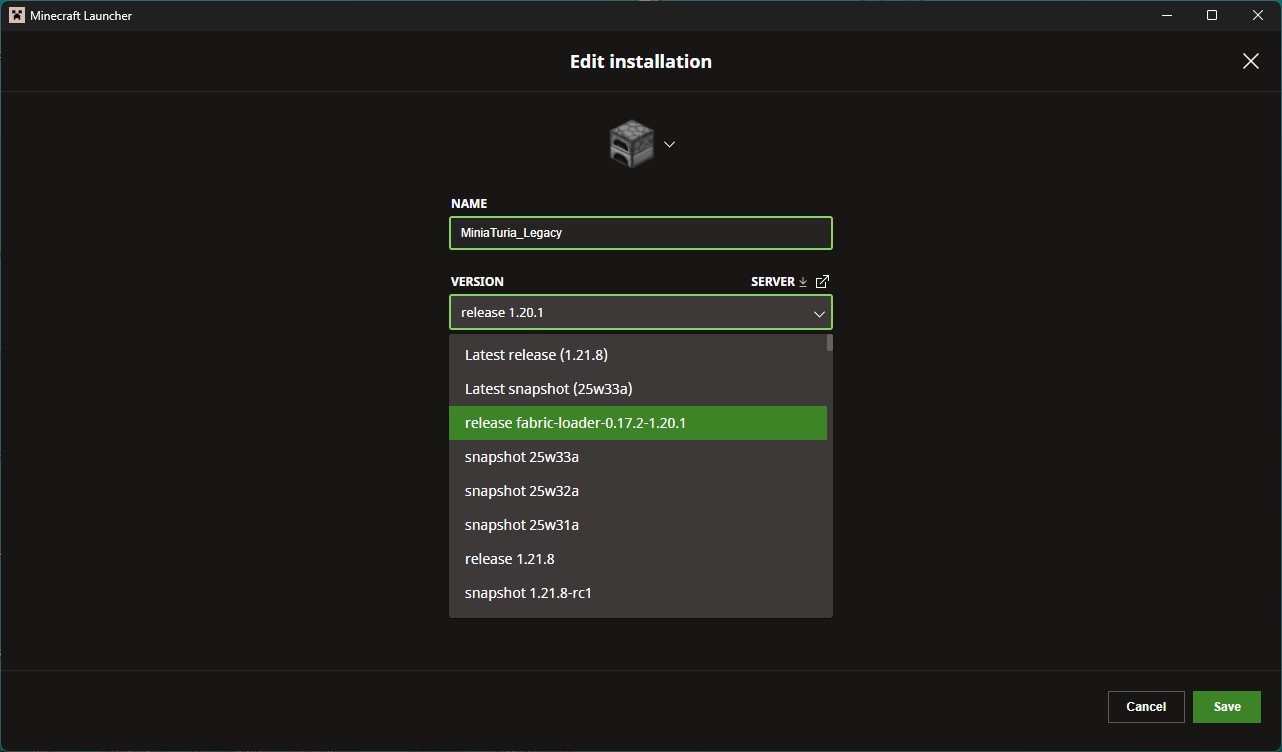
The “Edit Installation” screen opens. Set Name to anything you like (here: MiniaTuria_Legacy). In Version, choose release 1.20.1.

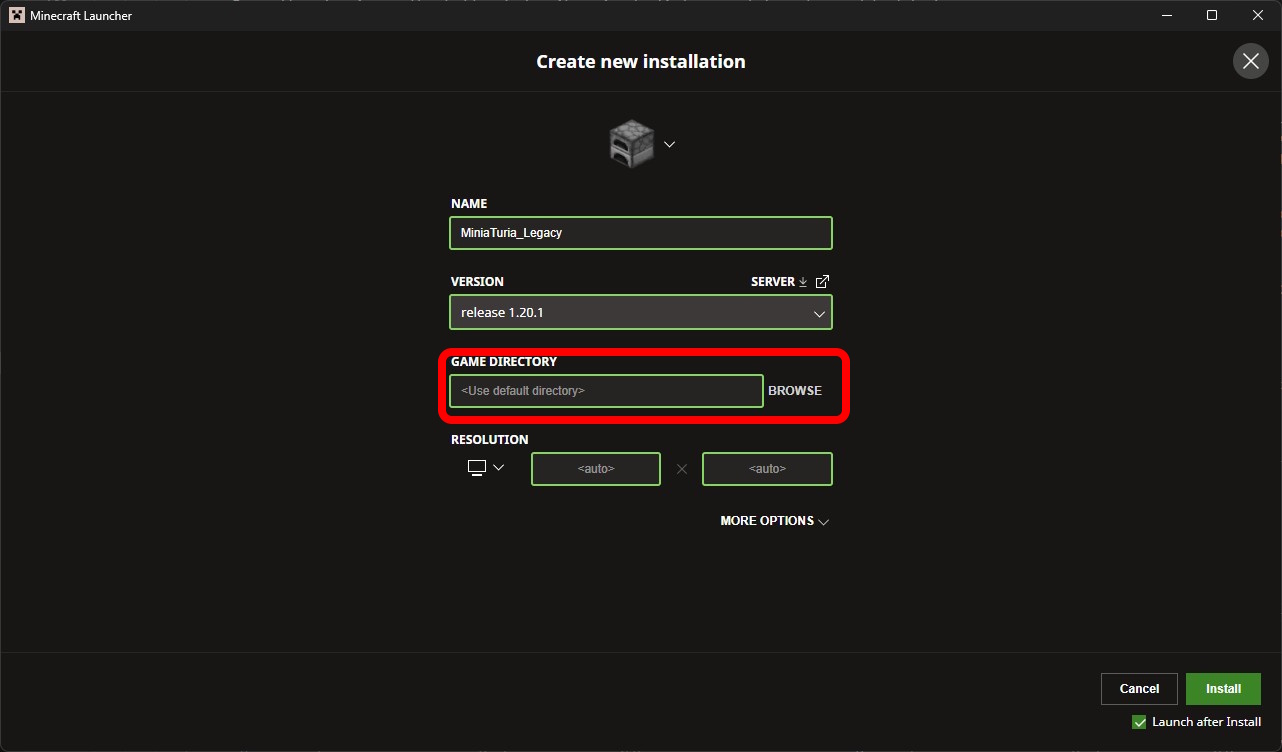
Game Directory If you leave it blank, Minecraft will use your default folder. Change it to the MiniaTuriaLegacy folder you created in Step 2.

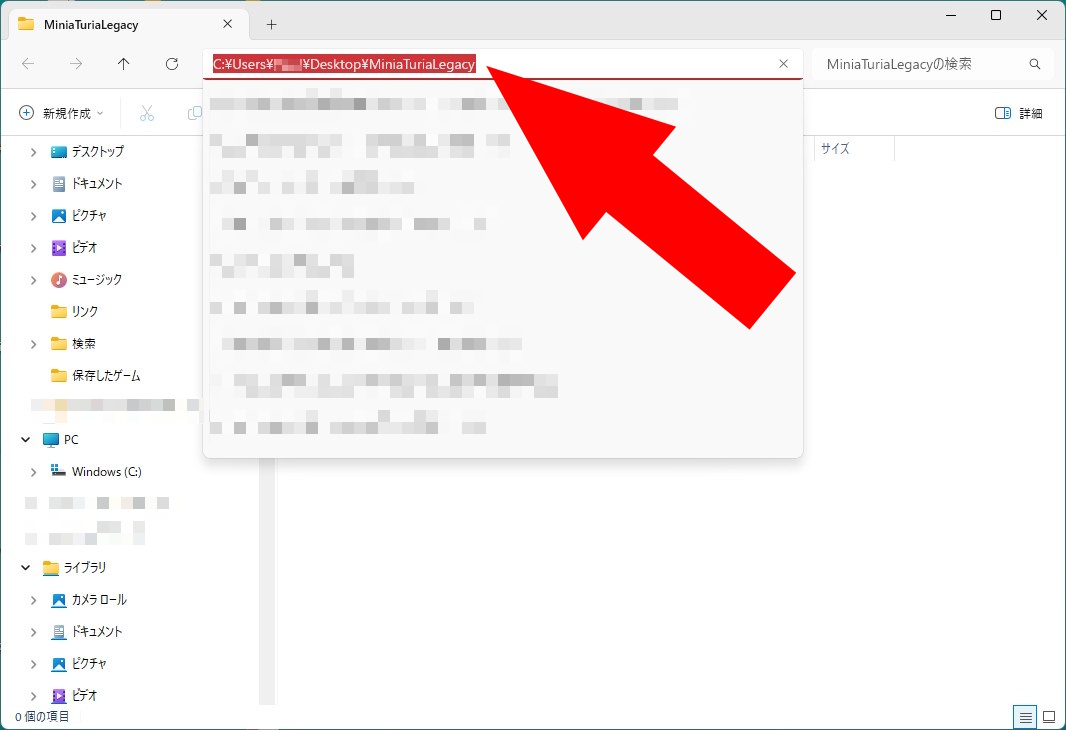
You can browse for the folder, or open it in Explorer and copy the path from the address bar—either is fine.

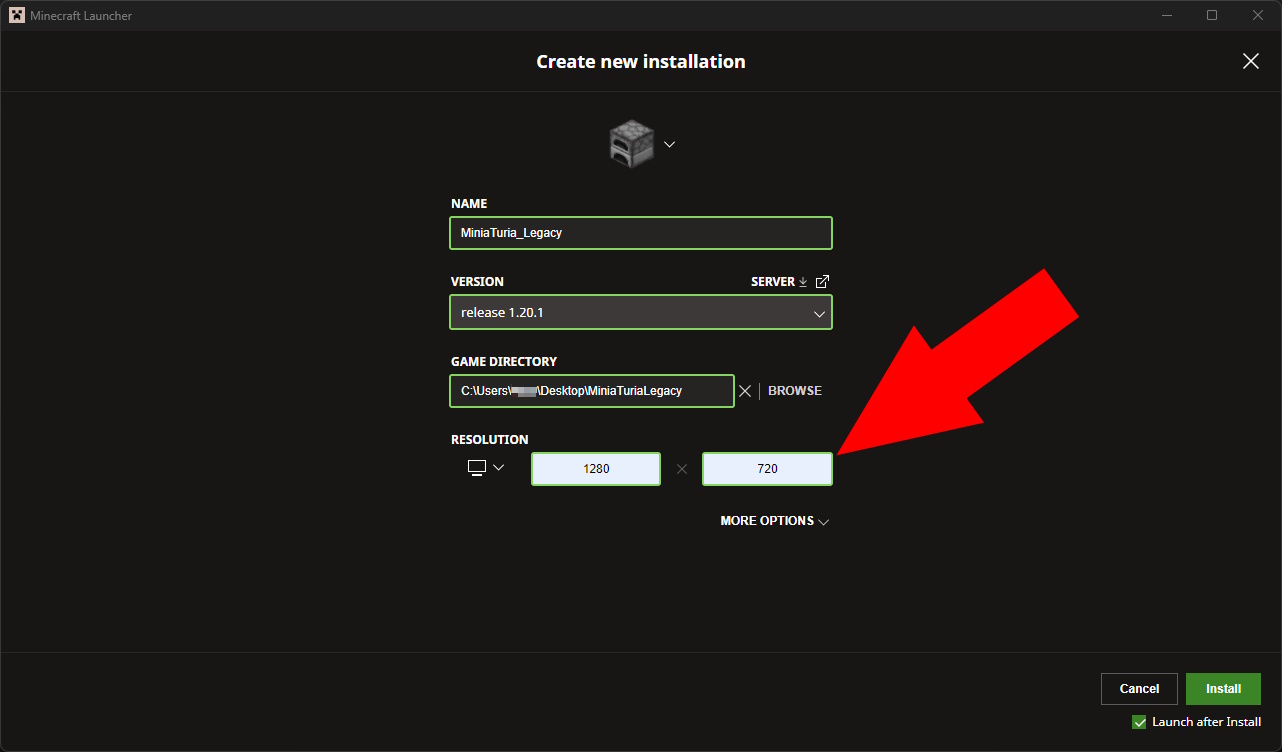
You can also set Resolution (window size) here. You can type a custom value too—1280 x 720 is recommended.

⚠️ Larger resolution can reduce performance. If you get lag, use a smaller size. It can also help reduce motion sickness.

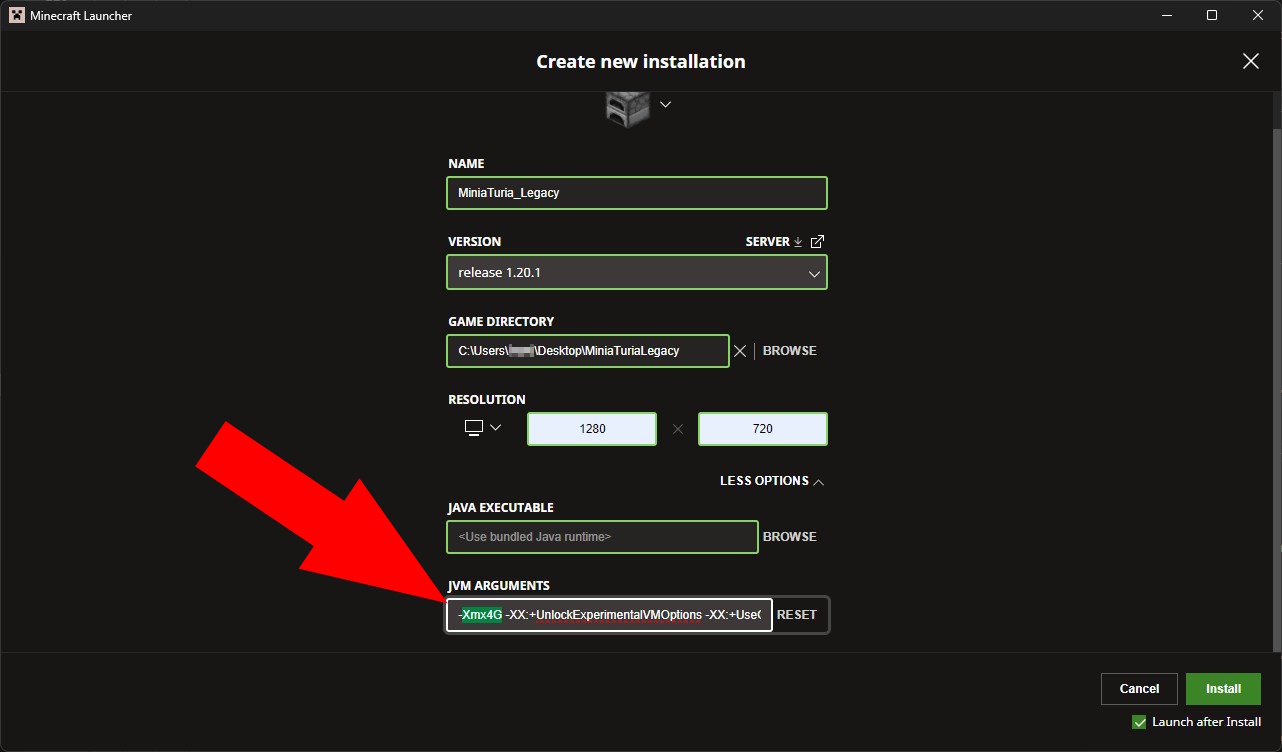
For MiniaTuria Legacy, setting memory to 4 GB or more is recommended. Open More Options and find JVM Arguments. You should see -Xmx2G. Change the 2 to 4 to allow up to 4 GB.

⚠️ If your PC has less than 8 GB of RAM, do not increase this setting.

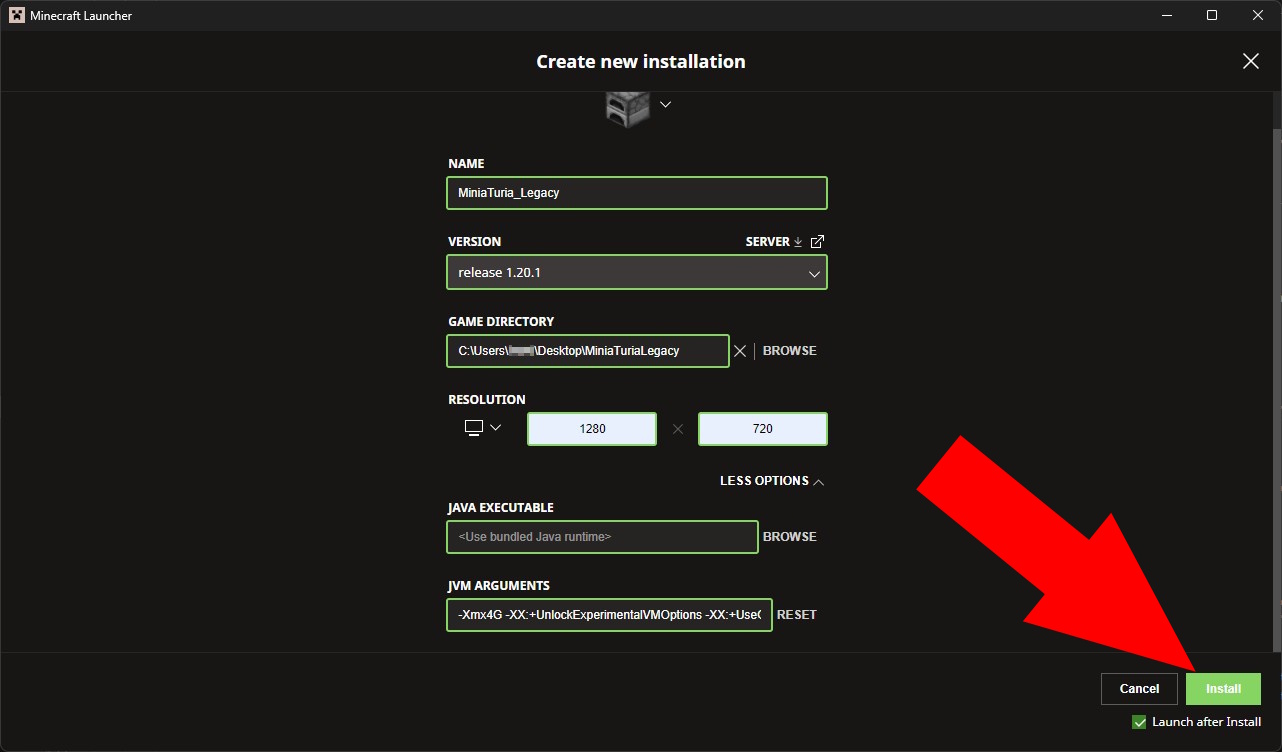
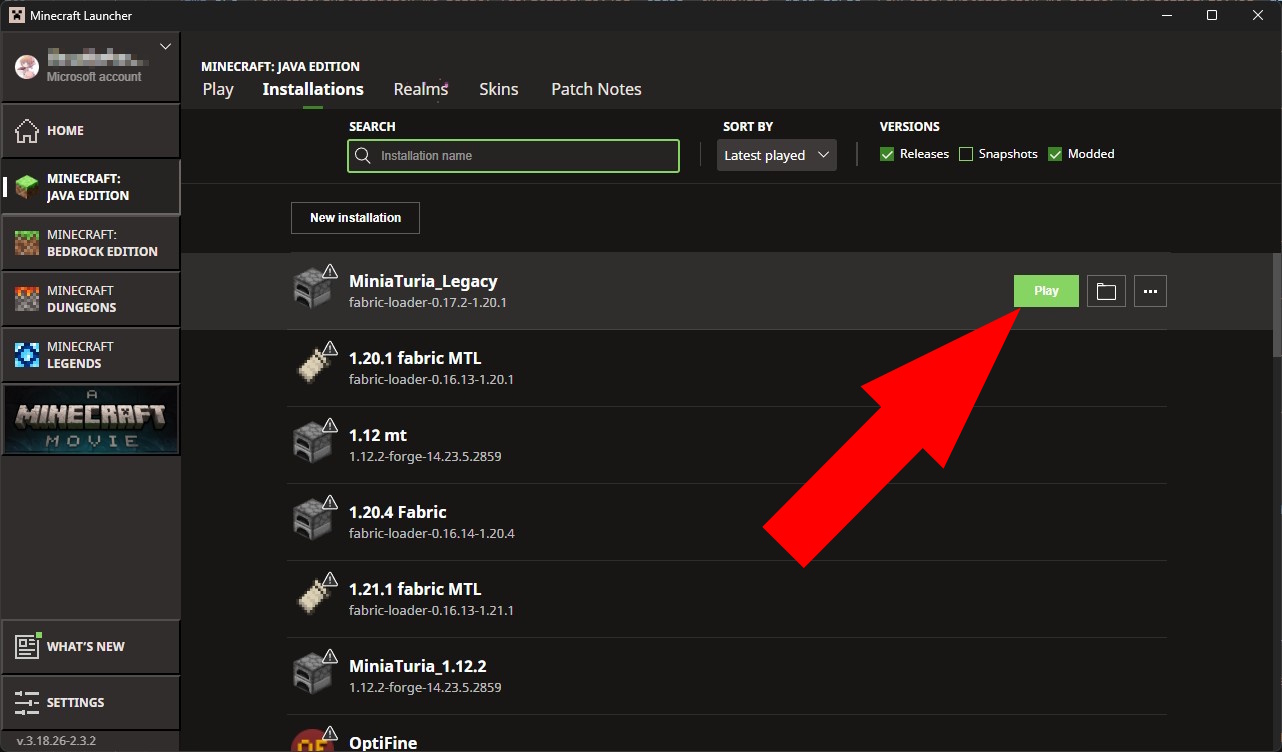
Click Install to save the profile. If Launch after install is checked, Minecraft will start automatically.

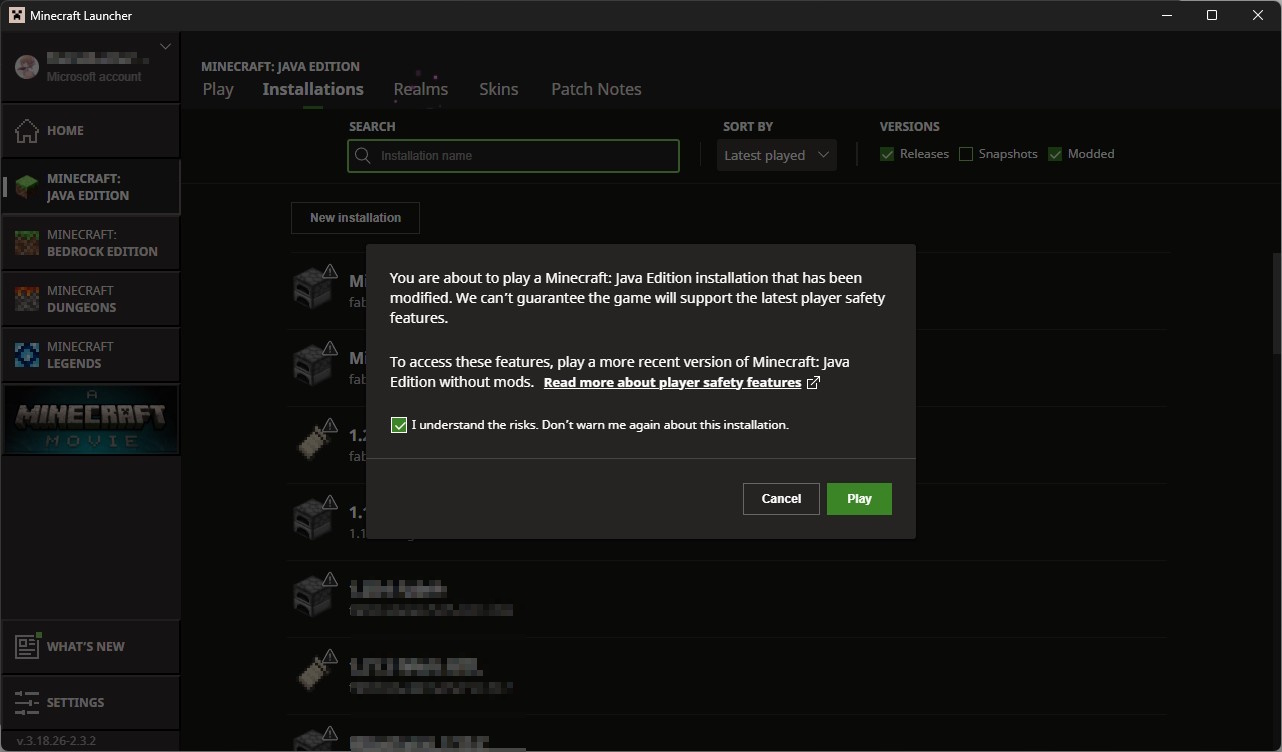
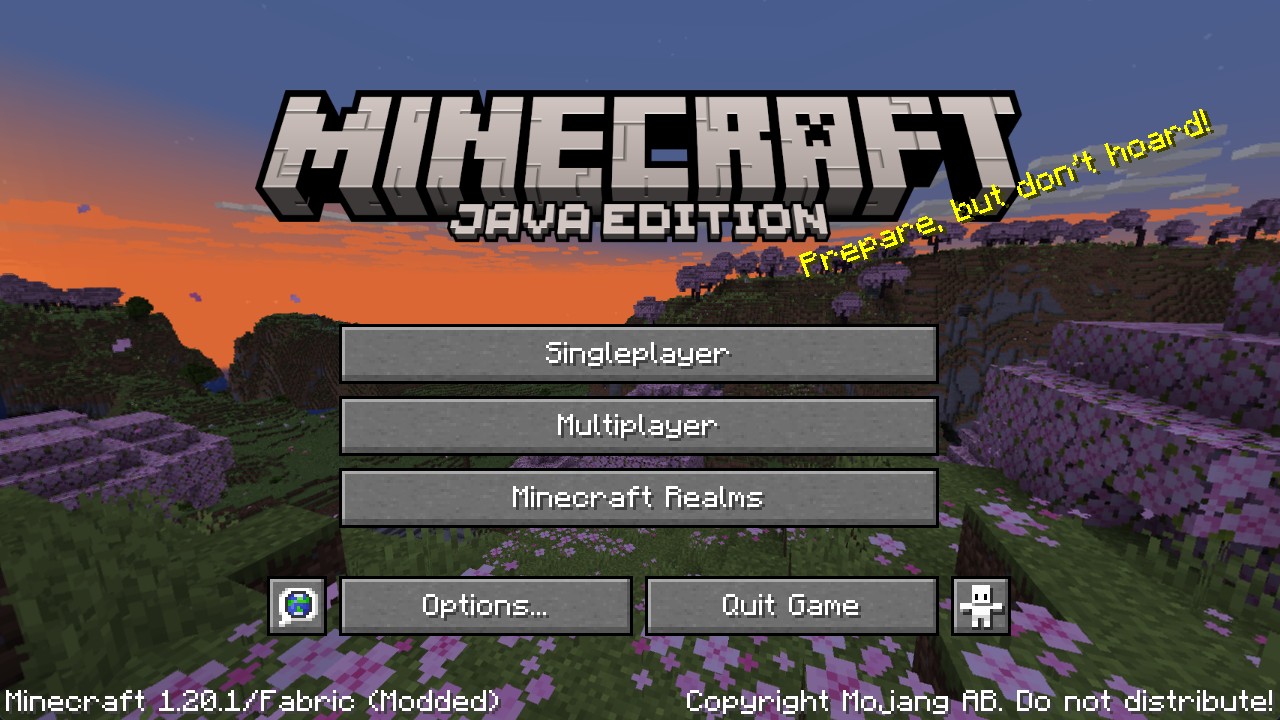
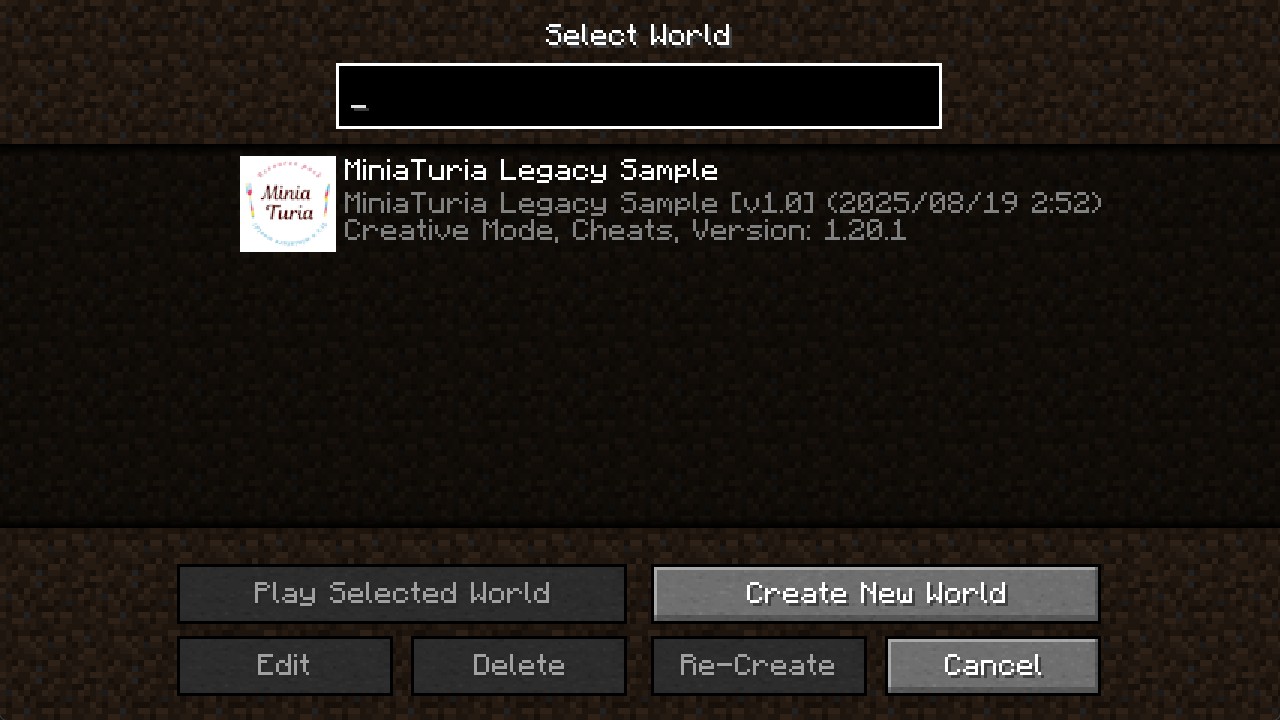
⚠️ To install Fabric, you must launch vanilla 1.20.1 at least once first.
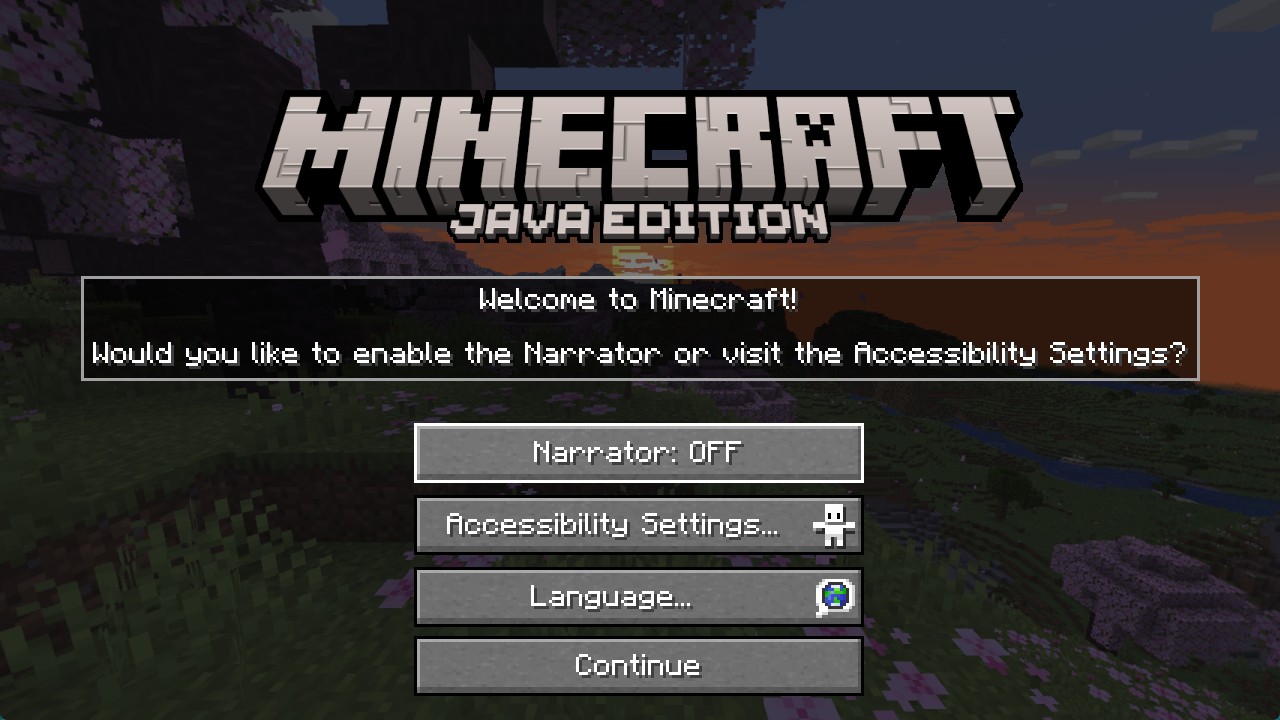
Press ContinueQuit to close Minecraft for now.

2. Set Up a Fabric Environment

To use Fabric mods, you must launch Minecraft with Fabric. So we’ll convert the MiniaTuria_Legacy profile you created into a Fabric profile.

Double-click to run it. If it fails to launch, click here.

In the installer: open the Client tab and set Minecraft Version to 1.20.1. Leave Loader Version and Install Location as they are. Uncheck Create profile, then click Install.

When it finishes, you’ll see a success message. Click OK and close the installer. You can also close the “Fabric Setup Program” window.

Now launch Minecraft once with Fabric. Open the launcher → MINECRAFT: Java EditionInstallations.

Find your MiniaTuria_Legacy installation → click Edit.

In Version, change “release 1.20.1” to something like “release fabric-loader-x.x.x-1.20.1”. It should appear near the top of the dropdown. Click Save.

Click Play on the MiniaTuria_Legacy profile.

You may see a safety warning. This is about child safety features for online multiplayer. If you understand it, check Do not show again and press Play.

Minecraft launches. If you see Fabric (Modded) in the bottom-left, it worked! Press Quit and close Minecraft once (this is important).

⚠️ Launching once with Fabric automatically creates required folders/files inside your MiniaTuriaLegacy folder.

You’ll download a file like fabric-api-x.x.x+1.20.1.jar. Open your MiniaTuria_Legacy folder.

You’ll see new folders created inside (it was empty before). Open the mods folder.

Put the downloaded Fabric API .jar into the mods folder. That’s the basic Fabric environment done! Next, go to “3. Install Sodium”.

If You See “Java 17 Or Higher Is Required” When Launching The Fabric Installer

You need to install Java 17 on your PC.

⚠️ Minecraft can run without system Java because the launcher bundles it, but the Fabric installer requires Java 17+.
⚠️ If you played MiniaTuria 1.12.2 before, you might only have Java 8. For 1.20.1, Java 17 is recommended.

Download Windows x64 msi (choose the .msi, not the .zip).

Run the downloaded .msi and click “Next”.

Accept the license agreement and click “Next”.

You can keep clicking “Next” with the default options.

Click Install and approve the prompt to begin.

⚠️ Make sure you have permission from the PC owner/guardian before installing software.

Finish with “Done”. Then go back to Step 3 and try the Fabric installer again.

3. Install Sodium

Now your Minecraft is ready to accept Fabric mods. MiniaTuria Legacy can be installed soon! But first—to display MiniaTuria Legacy textures correctly, you need a mod called Continuity.

Before Continuity, we’ll install Sodium, which Continuity depends on.

⚠️ Sodium is a Fabric performance & rendering optimization mod.
Continuity depends on Sodium’s rendering system, so it won’t work without Sodium.

You’ll download a file like sodium-fabric-x.x.x+mc1.20.1.jar.

Put it into the mods folder inside your MiniaTuriaLegacy directory.

4. Install Indium

Continuity needs Sodium. And it also needs Indium.

⚠️ Indium is a bridge mod that adds Fabric Renderer API support to Sodium.
Continuity enables connected textures through Indium.

You’ll download a file like indium-x.x.x+mc1.20.1.jar. Put it into the mods folder inside your MiniaTuriaLegacy directory.

5. Install Continuity

Finally, Continuity!

⚠️ Continuity enables CTM (Connected Textures Mod) features.

MiniaTuria Legacy textures rely on this heavily, so it’s required.

Because Sodium and Indium are required dependencies, make sure you’ve done Sections 3 and 4 first.

You’ll download a file like continuity-x.x.x+1.20.1.jar. Put it into the mods folder inside your MiniaTuriaLegacy directory.

6. Install MiniaTuria Legacy

Now your mod environment is ready for MiniaTuria Legacy. Let’s install MiniaTuria Legacy itself. Important: you need two files: the mod and the resource pack.

Read the Terms of Use and press Accept. Go to the second page and download by following the ad-link instructions.

If successful, you’ll download a file like MiniaTuria_Legacy_Fabric1.20.1_[x.x]_OPEN_AND_MOVE_FILES.zip.

Inside are both the mod .jar and the resource pack .zip. You must move them to the correct folders. Open the downloaded .zip, and also open your MiniaTuriaLegacy folder.

Drag the .jar into the mods folder. Drag the [RP]...zip into the resourcepacks folder. File setup is done! Next, we’ll add the sample world to confirm everything works.

7. Verify The Setup With The Sample World

Download MiniaTuria Legacy Sample [x.x].zip. This is a zip containing the world save folder. You must extract/move the folder out of the zip to use it.

Open the downloaded .zip by double-clicking it. Also open your MiniaTuriaLegacy folder. Drag the folder inside the zip into MiniaTuriaLegacysaves.

Open the saves folder and confirm the world folder is there. Then you can close and delete the sample zip if you want.

Launch Minecraft using the MiniaTuria Legacy profile. When it opens, click Options....

If you can move the FOV slider to the left and set it to “5”, MiniaTuria Legacy mod is installed correctly! (For building, FOV 50–60 is recommended.)

Now enable the resource pack. In Options, click Resource Packs....

Select the MiniaTuria Legacy pack on the left and move it to the right. Click Done, then click Done again to return.

On the title screen, click Singleplayer.

You should see the sample world you added. Click it to enter.

You’ll see lots of block samples.

If the textures connect smoothly across multiple blocks, it means Continuity is working correctly (thanks to Sodium + Indium). That’s a successful setup—nice work!!

Go back
× large image