If you want to play Minecraft with mods, it’s safer to separate your modded setup from your usual Minecraft environment. ⚠️
1. Create a Dedicated Folder and a Installation Profile for MiniaTuria Mod
Create a dedicated Minecraft folder for MiniaTuria and keep your mods, resource packs, and worlds inside it. Then create an installation profile so you can launch Minecraft using that folder every time. We’ll go step by step.
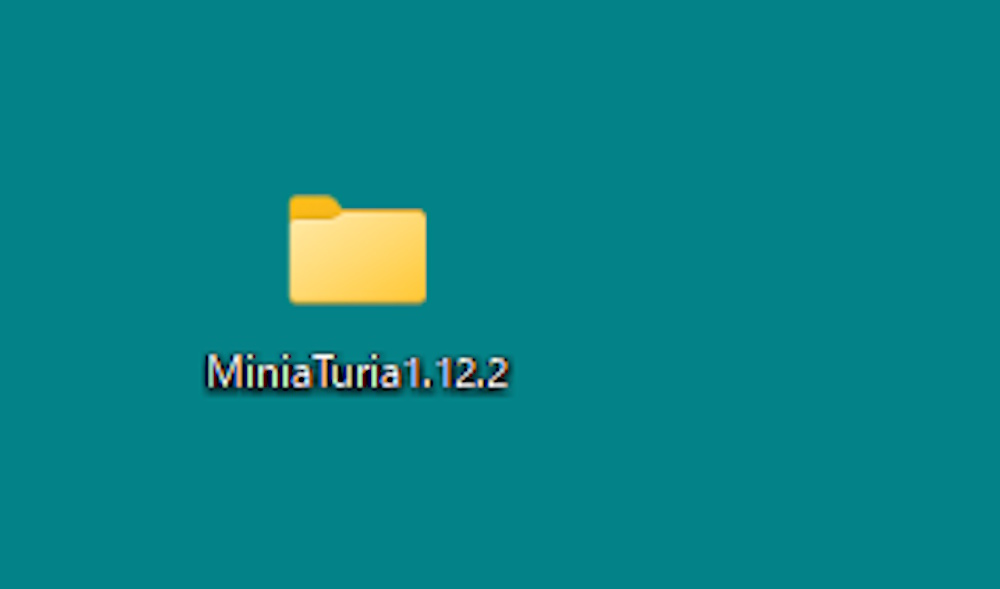
First, manually create an empty folder with any name (e.g., on your desktop, inside drive C:). Use alphanumeric characters. In this guide, we’ll use MiniaTuria1.12.2.
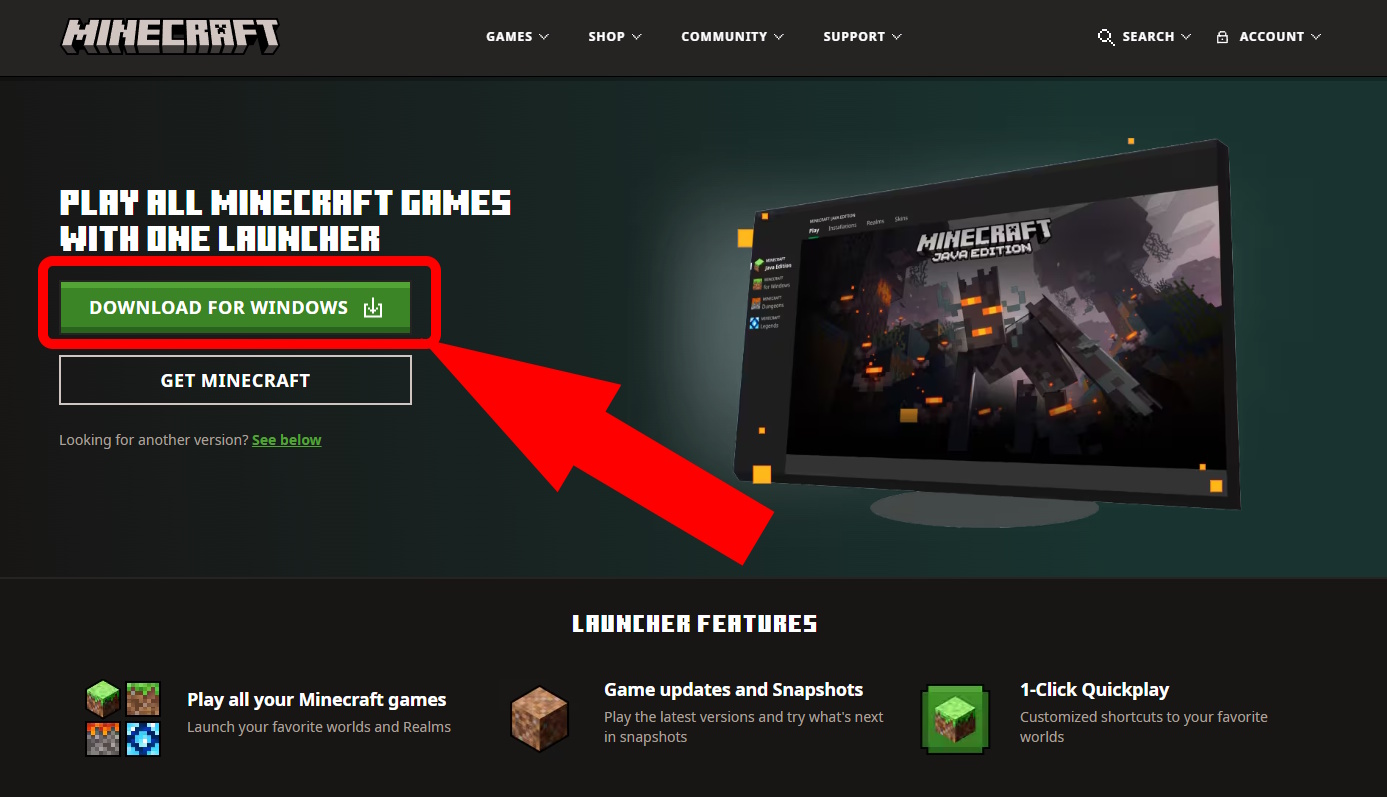
Next, install the official Minecraft Launcher. If you already play Java Edition and have the launcher installed, skip to step 7.

MinecraftInstaller.exe will download. Open it and follow the instructions to install.
After installing the launcher (the creeper-face icon), open it.
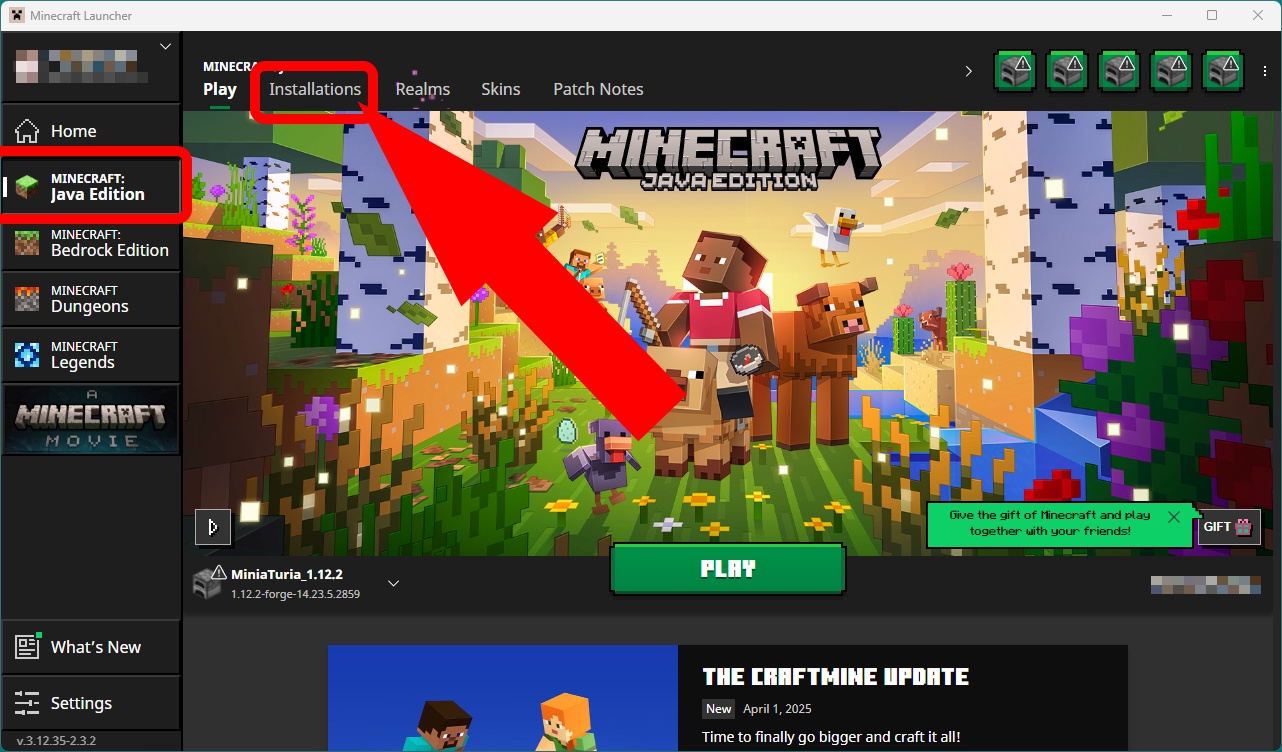
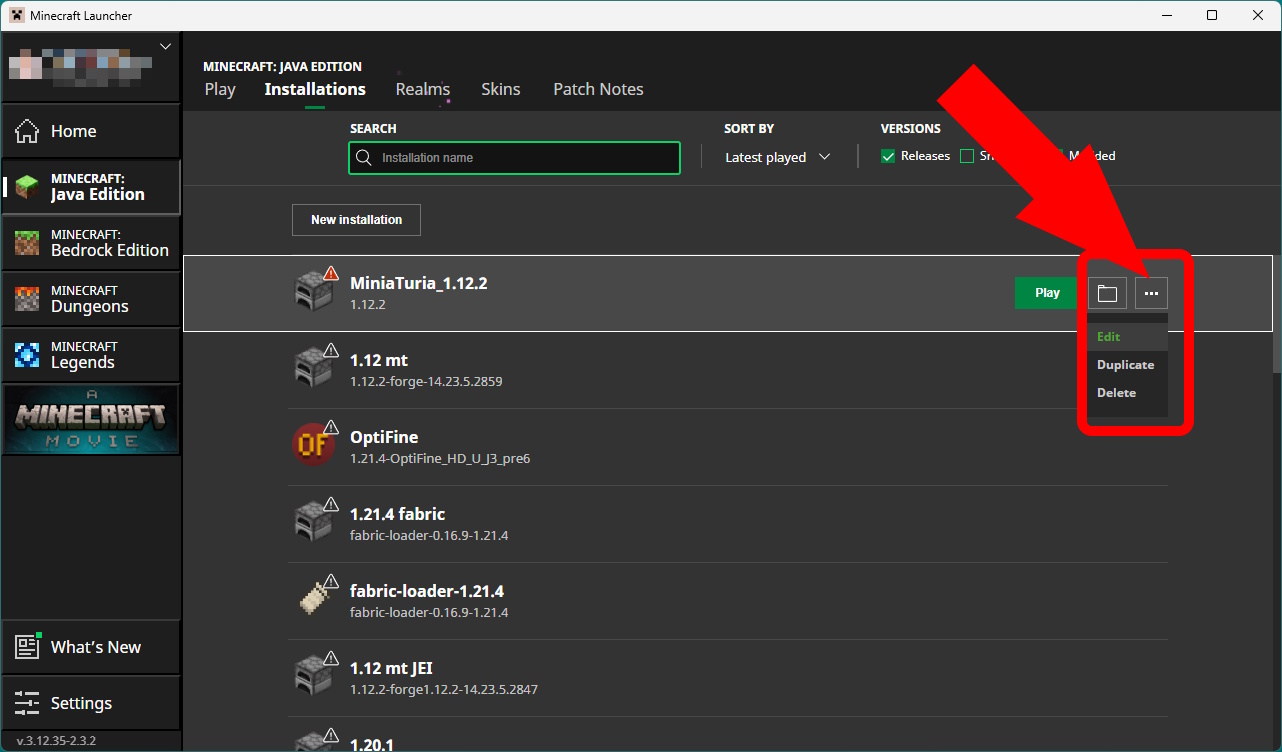
Open the official Minecraft Launcher: MINECRAFT: Java Edition → click Installations.
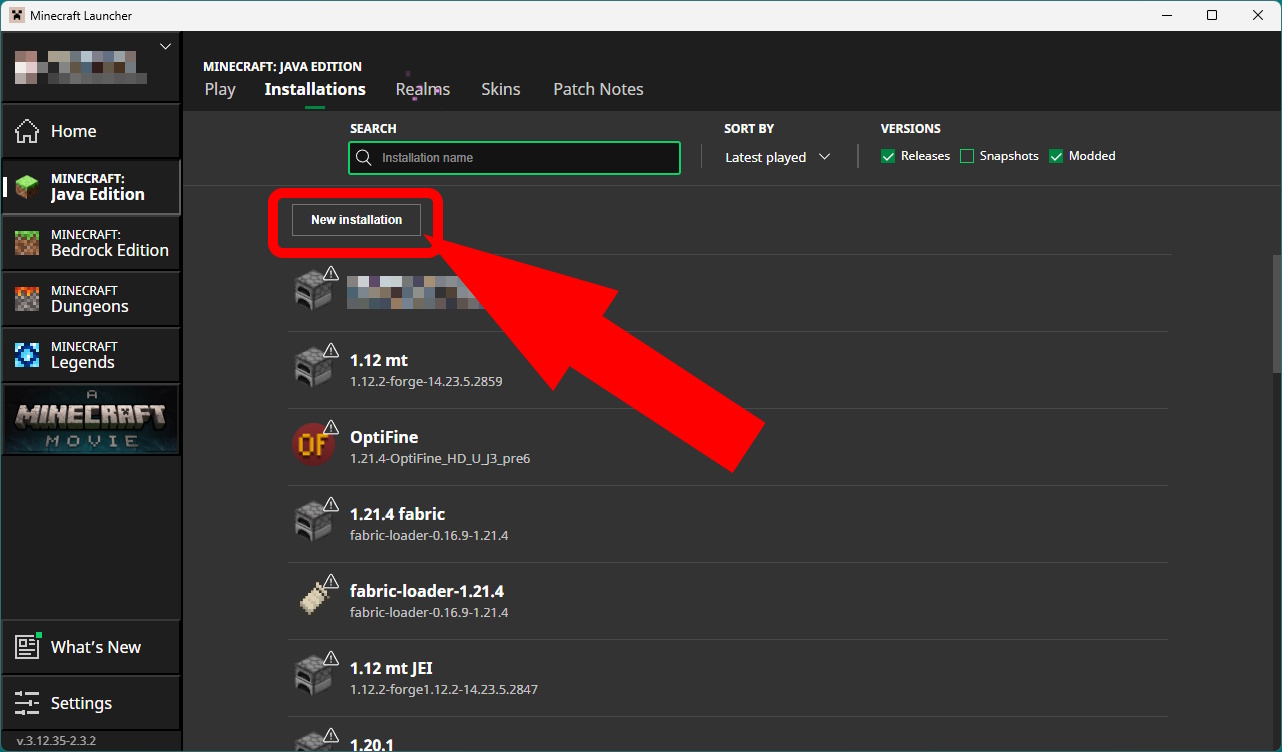
Click New Installation.
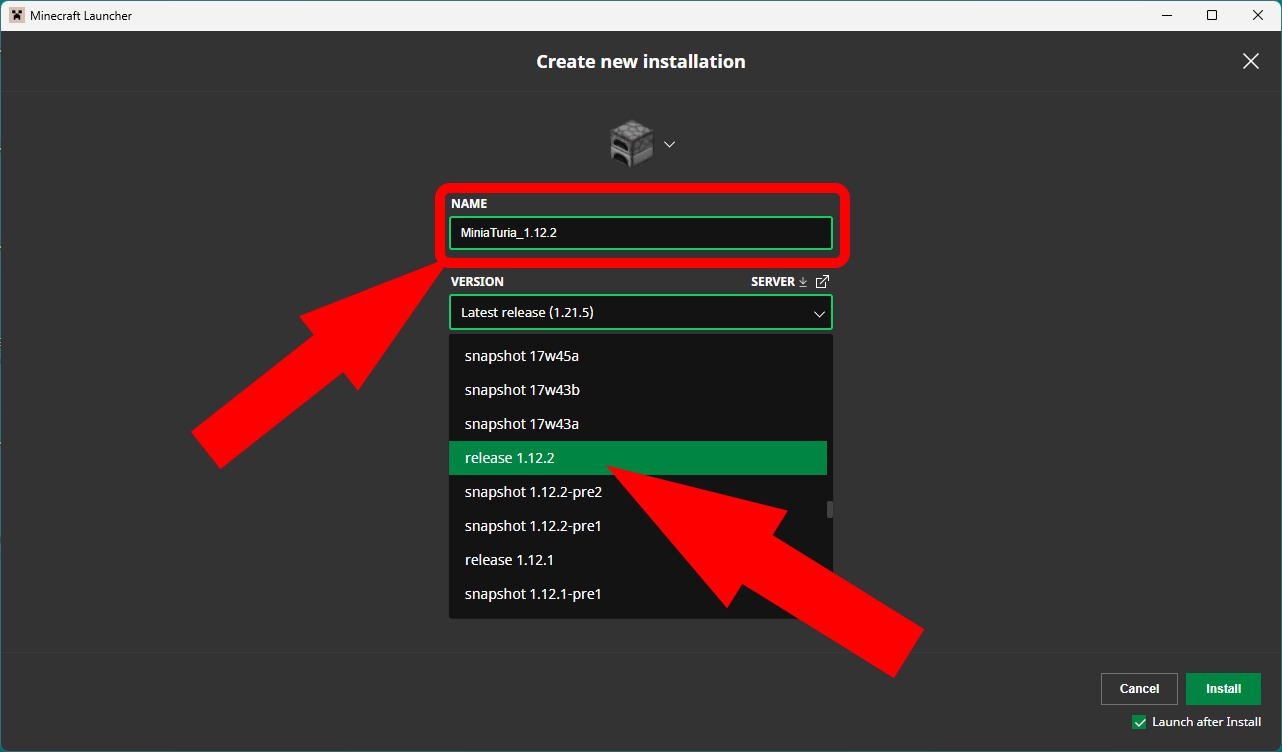
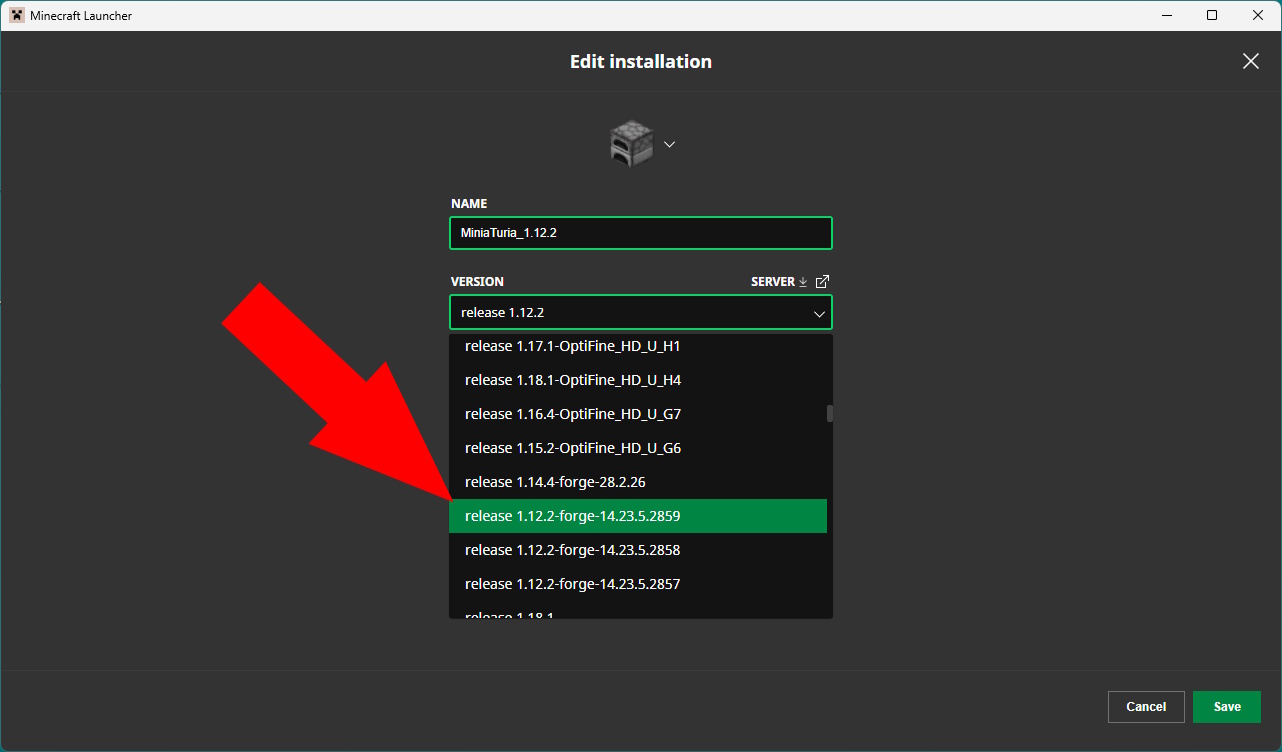
In the “Create Installation” screen: set a name (e.g., MiniaTuria_1.12.2), then choose release 1.12.2 from Version.

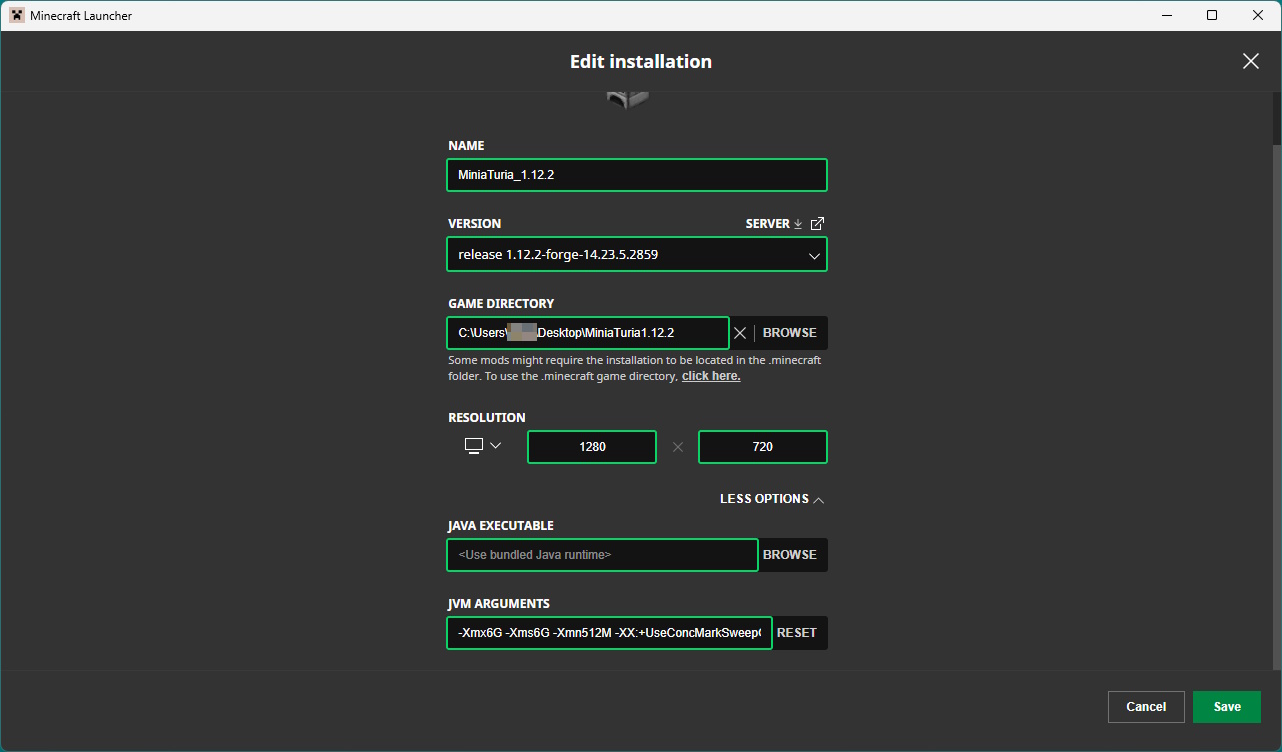
For Game Directory, if you leave it blank, Minecraft uses your default folder. That’s not what we want, so enter the folder you created earlier.
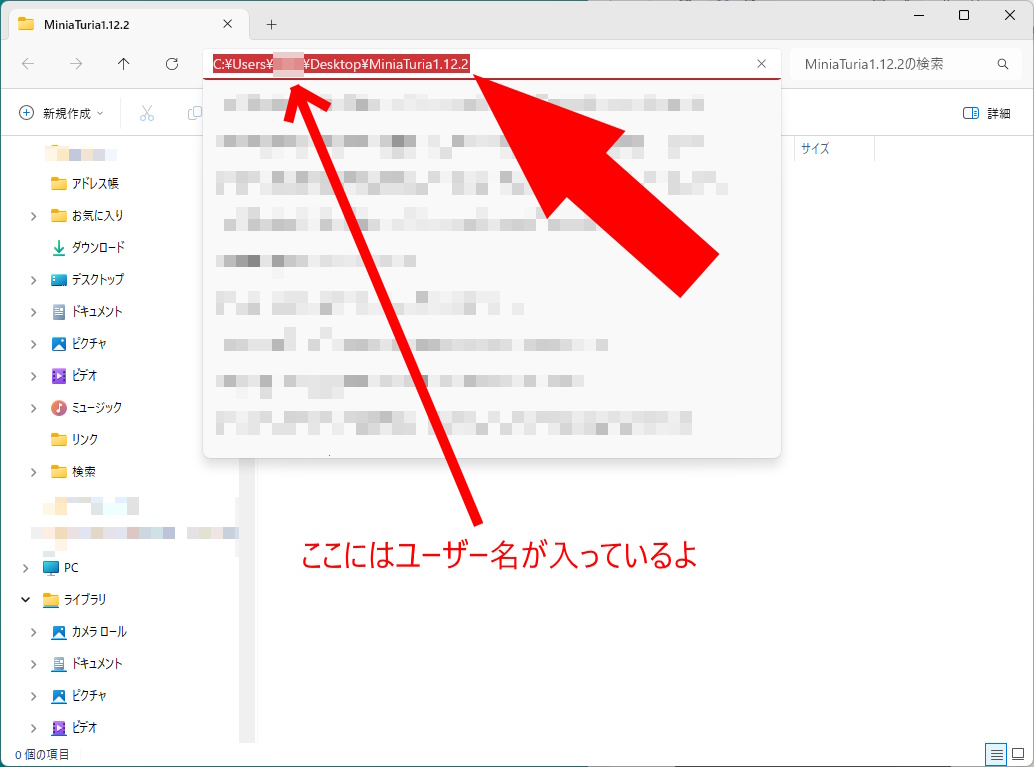
Click Browse and select your MiniaTuria1.12.2 folder, or open the folder in Explorer and copy the path from the address bar.
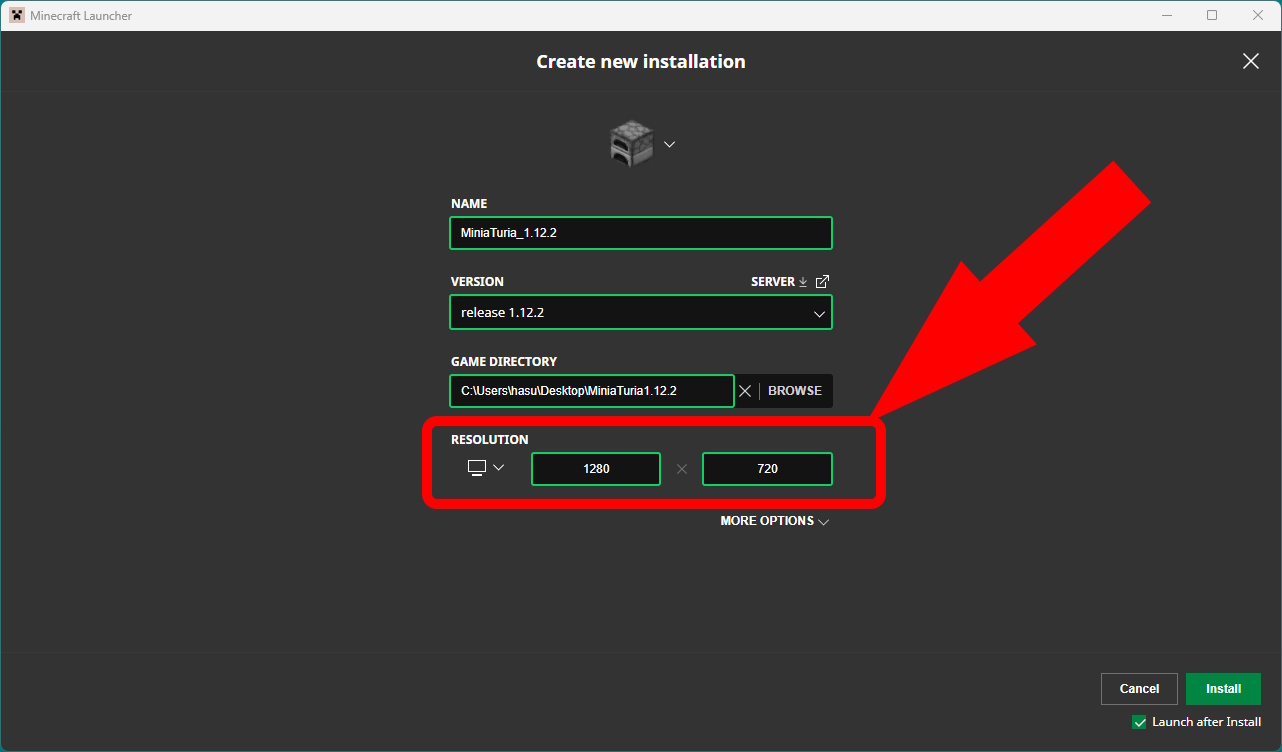
Optional: set the Resolution now. You can type custom values. 1280 x 720 is recommended, but use what you like.
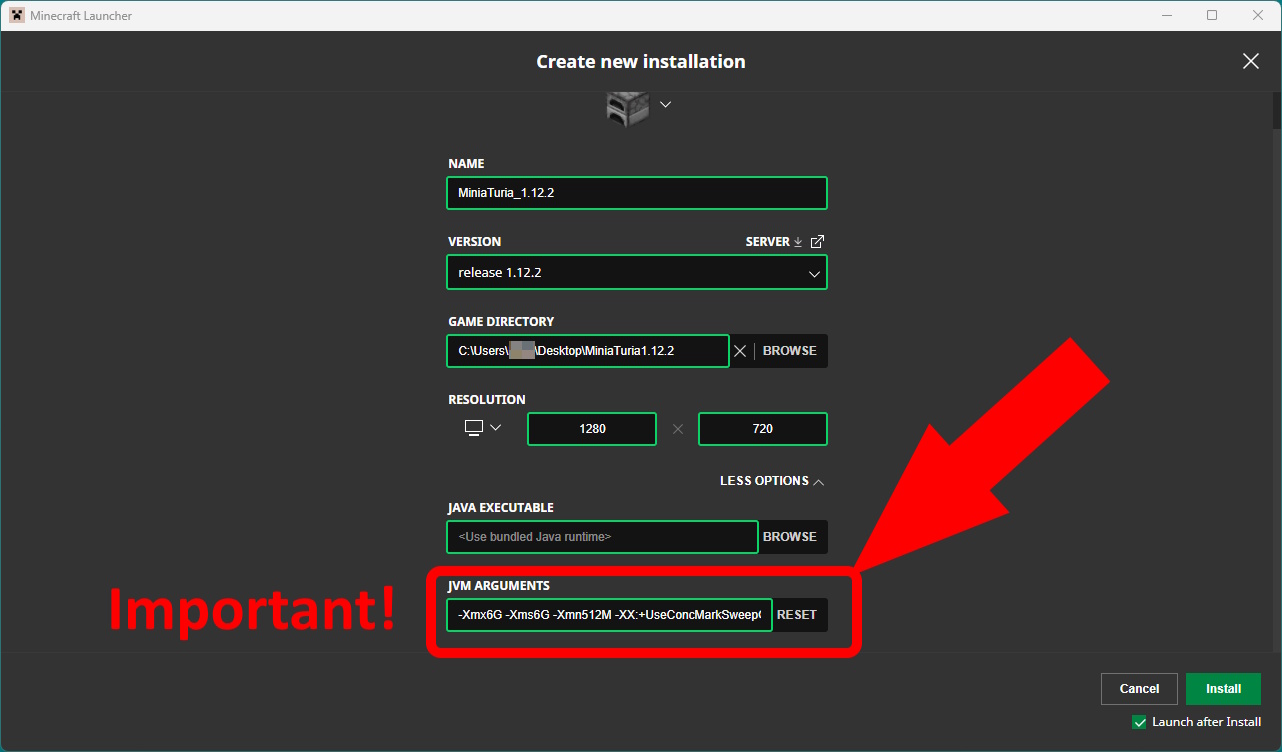
⚠️ Important: JVM Arguments
Click More Options to expand the advanced section. Then we’ll adjust JVM Arguments.
⚠️ JVM arguments are startup options that fine-tune how Java runs.
What you need to do: (1) Increase Minecraft’s memory limit (2) Prevent memory usage from growing too aggressively during play Without this, MiniaTuria can become very laggy.
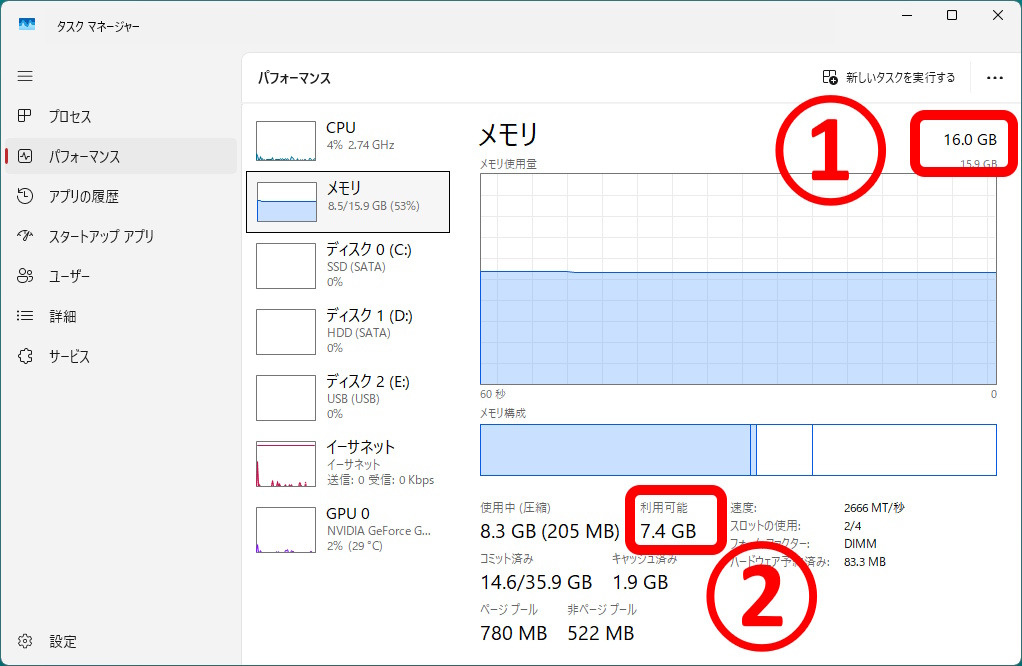
Open Task Manager → Performance → Memory to check your RAM. (1) is total RAM (example: 16 GB). (2) is the available free memory. This is the important number.
Choose the JVM arguments that fit your PC and copy them:
If your PC has 8 GB RAM, close browsers/videos while playing.
→ Set Minecraft to 4 GB
-Xmx4G -Xms4G -Xmn512M -XX:+UseConcMarkSweepGC -XX:+CMSIncrementalMode -XX:-UseAdaptiveSizePolicy -XX:MetaspaceSize=512M -XX:MaxMetaspaceSize=512MYour PC has 16 GB RAM, but free memory is usually around 7 GB.
→ Set Minecraft to 6 GB
-Xmx6G -Xms6G -Xmn512M -XX:+UseConcMarkSweepGC -XX:+CMSIncrementalMode -XX:-UseAdaptiveSizePolicy -XX:MetaspaceSize=512M -XX:MaxMetaspaceSize=512MYour PC has 16 GB+ RAM and plenty of free memory.
→ Set Minecraft to 8 GB
-Xmx8G -Xms8G -Xmn512M -XX:+UseConcMarkSweepGC -XX:+CMSIncrementalMode -XX:-UseAdaptiveSizePolicy -XX:MetaspaceSize=512M -XX:MaxMetaspaceSize=512M⚠️ You can adjust memory by changing only the numbers in -Xmx and -Xms (6 is recommended). ⚠️ Never allocate more than half of your total RAM. Do this at your own risk.
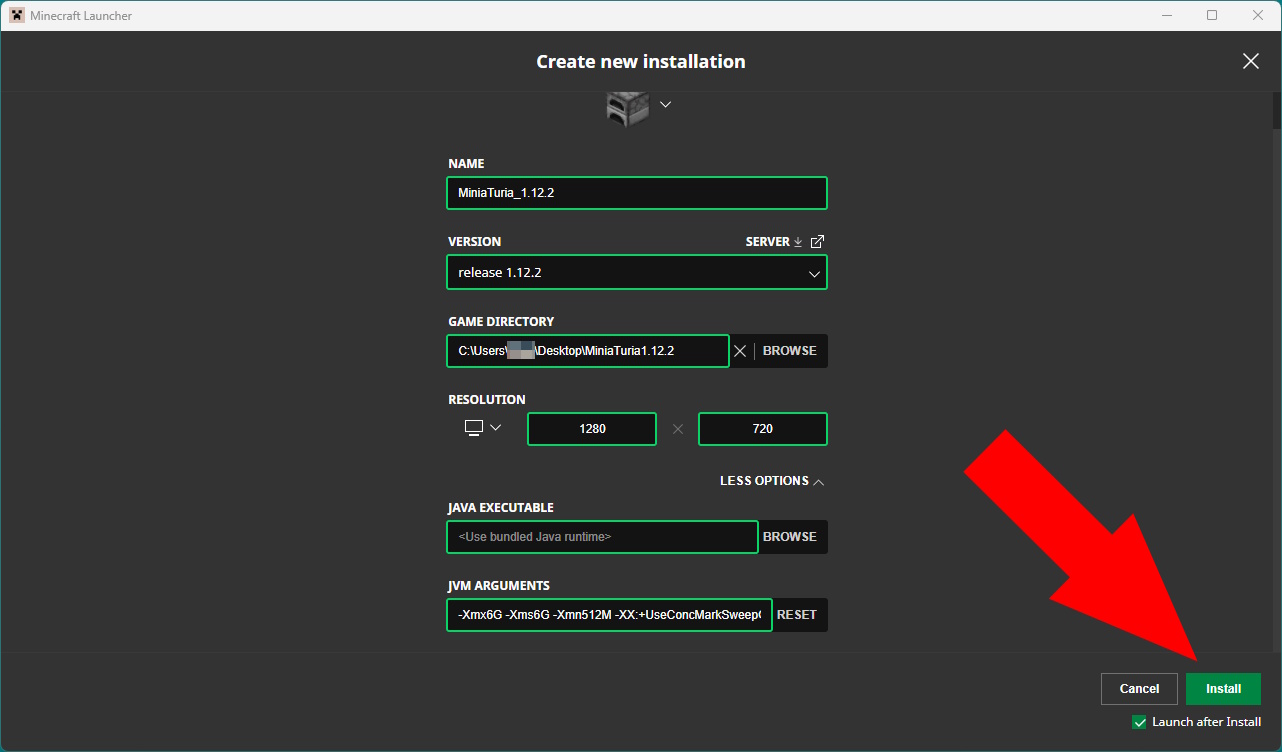
Paste what you copied into the JVM Arguments box (replace the existing text). Then click Save.
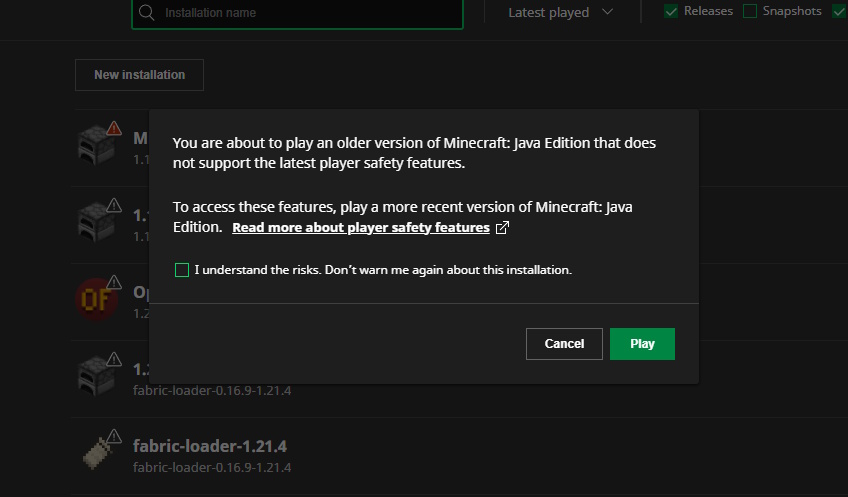
You may see a warning about using an older version. This is related to online safety features. If you understand, check “Do not show again” and click Play.
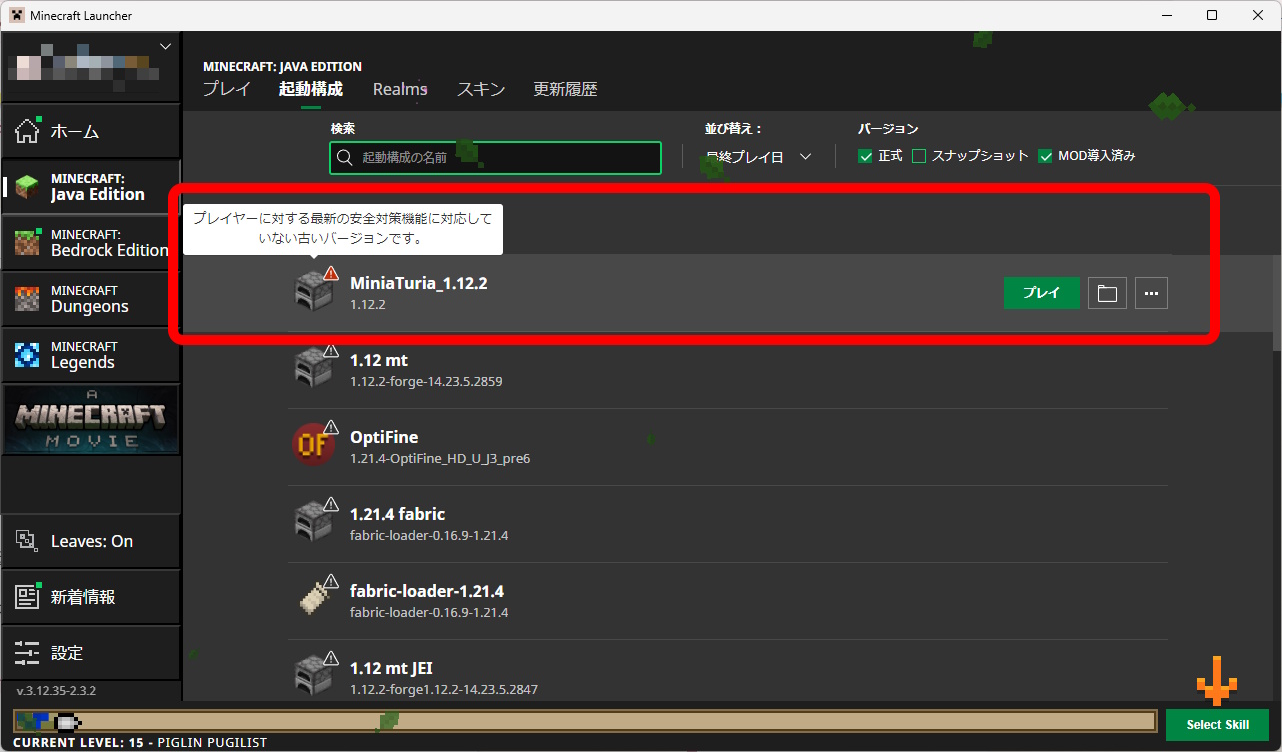
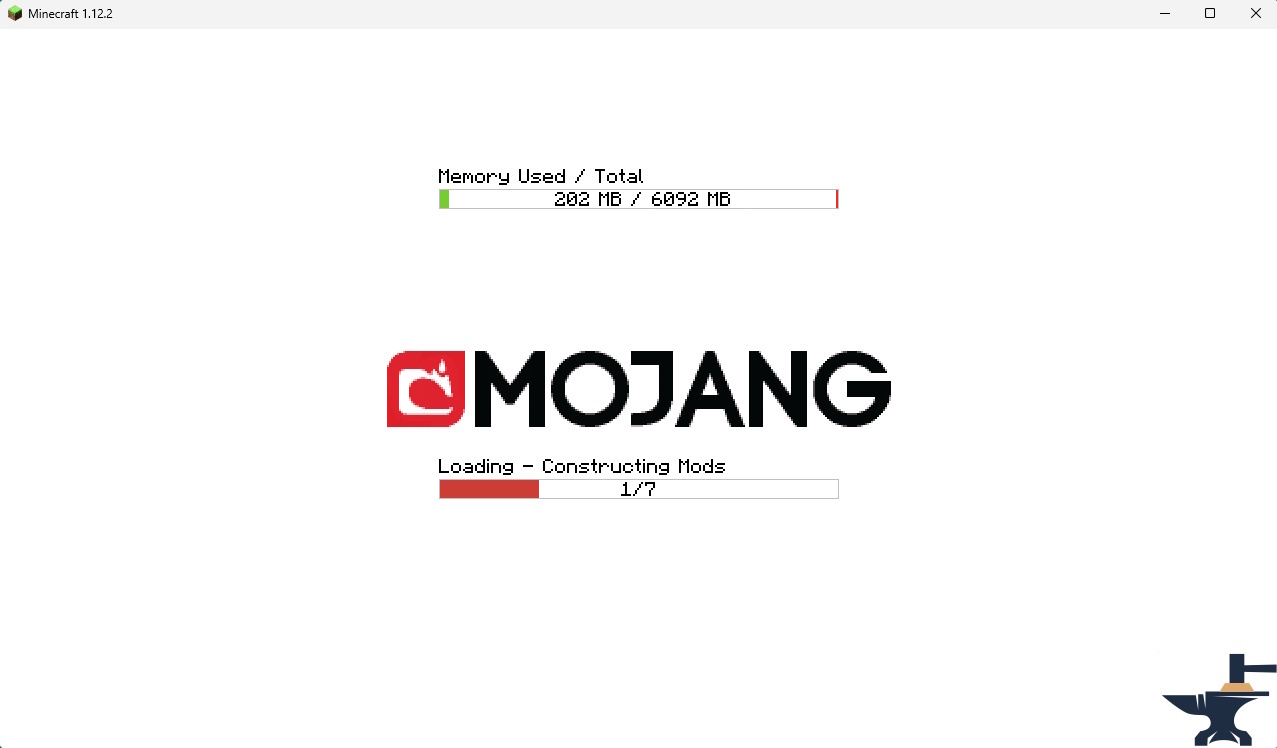
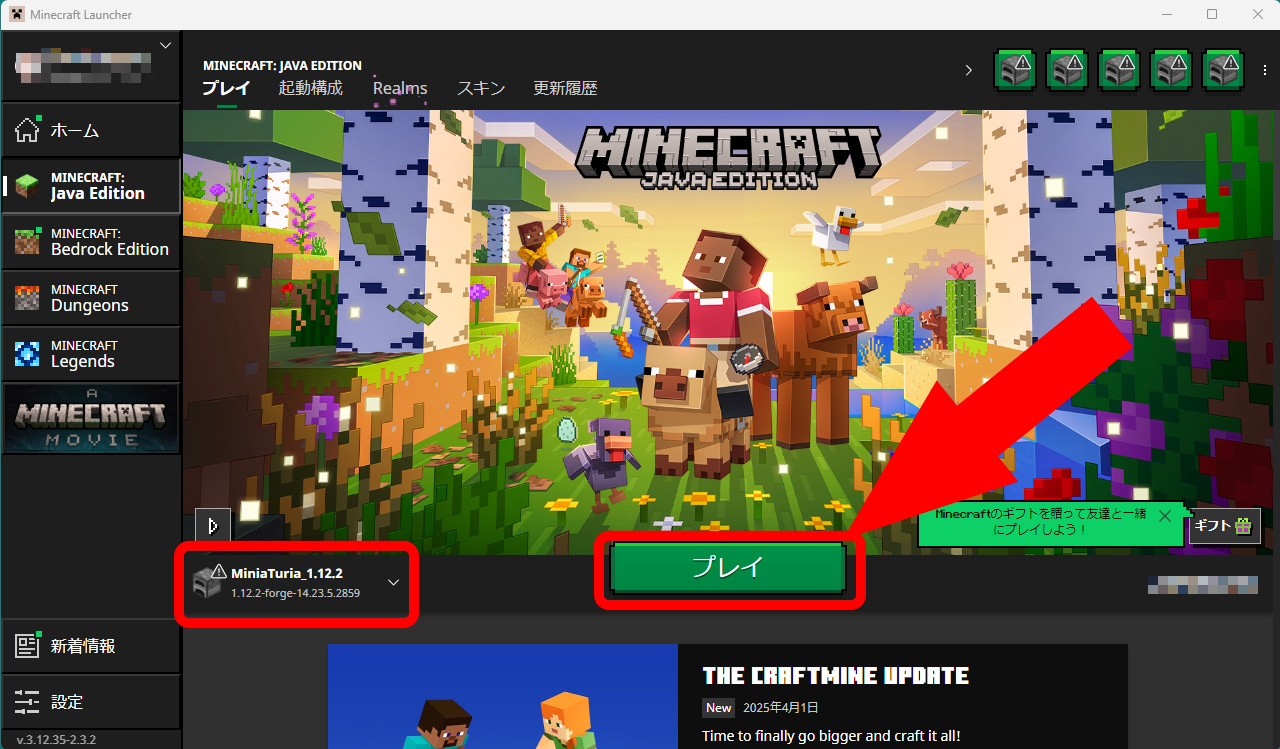
Your new installation profile now appears. Click Play to start Minecraft.
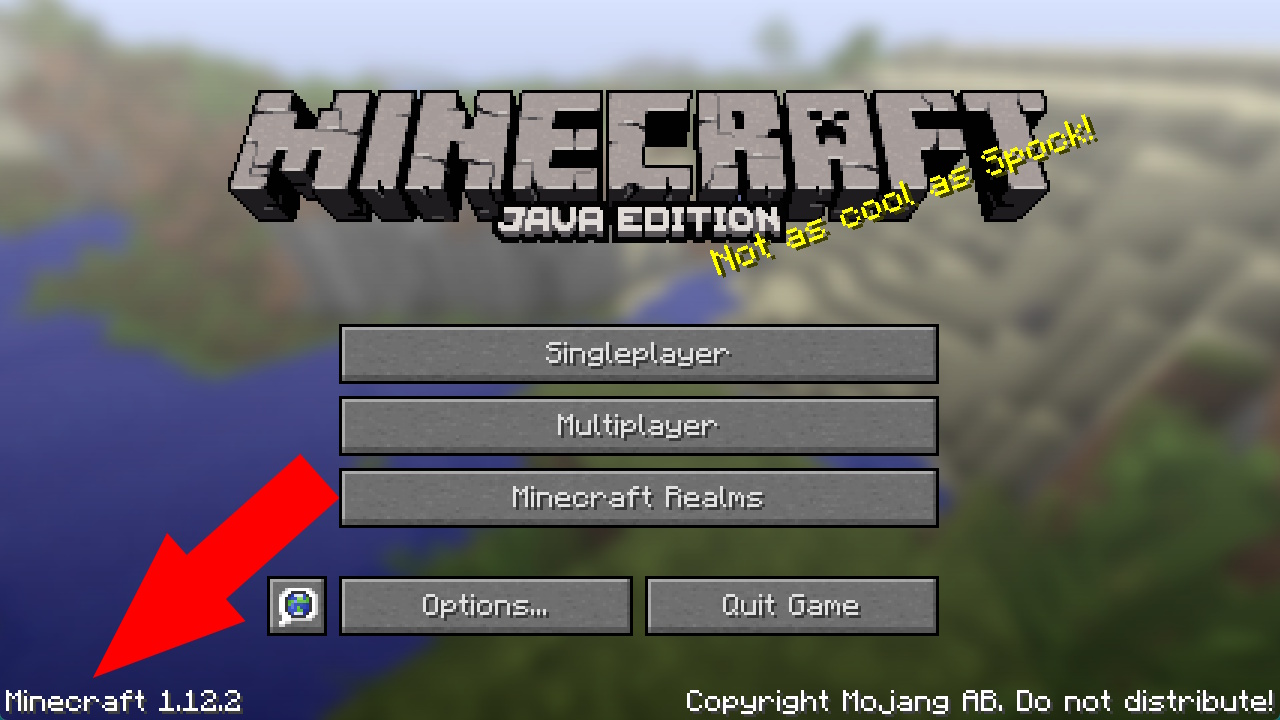
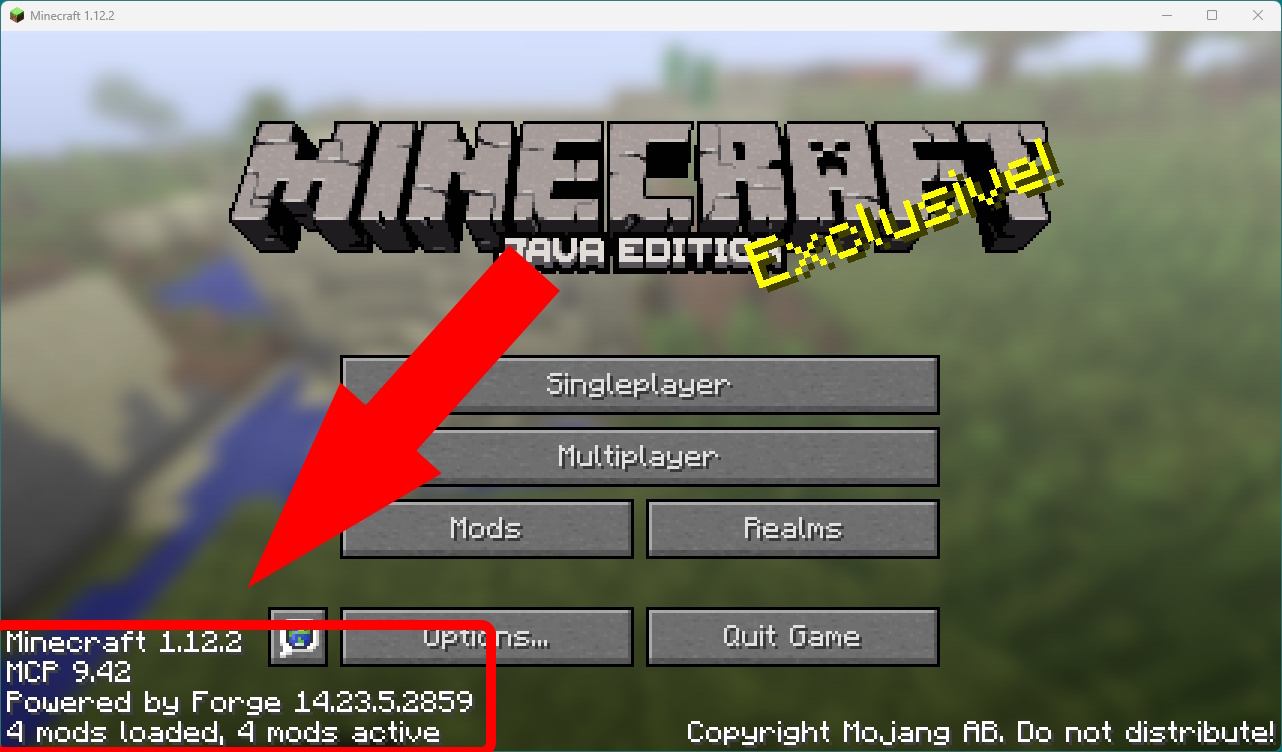
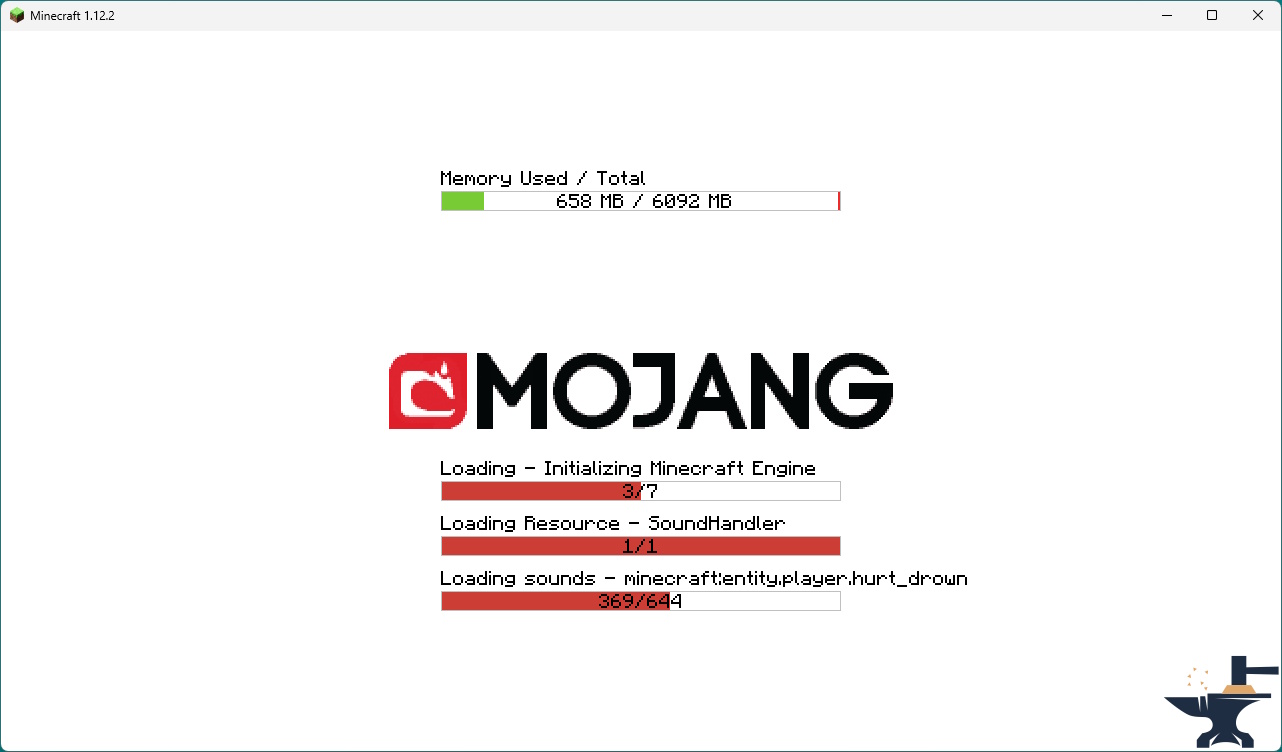
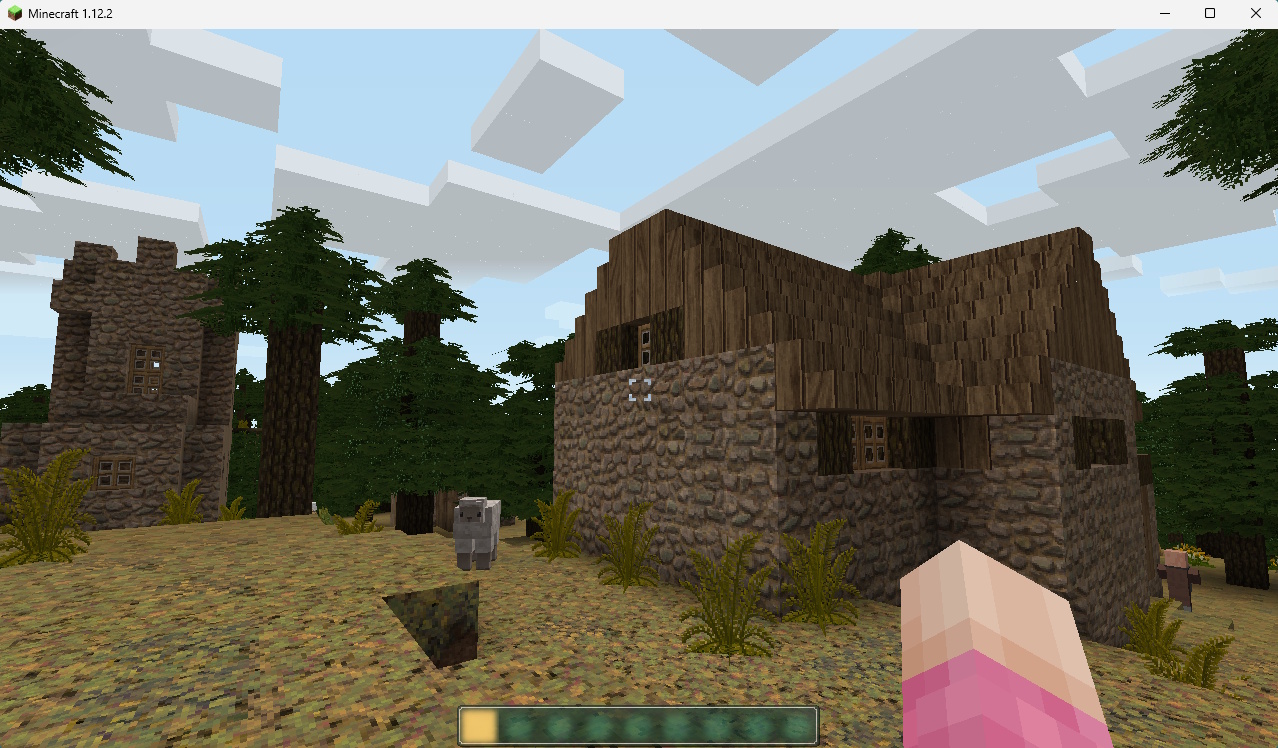
Minecraft 1.12.2 will launch (you can confirm the version on the title screen).
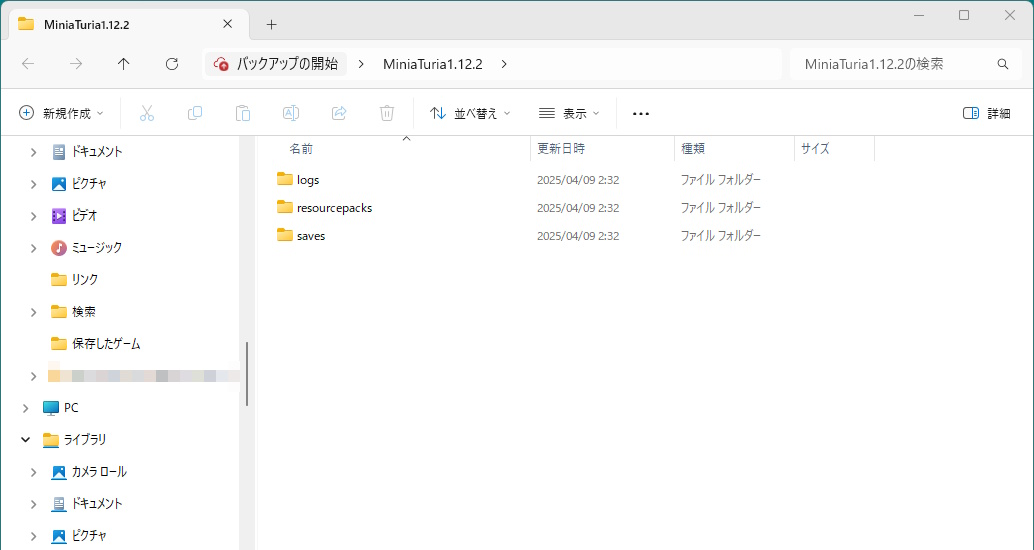
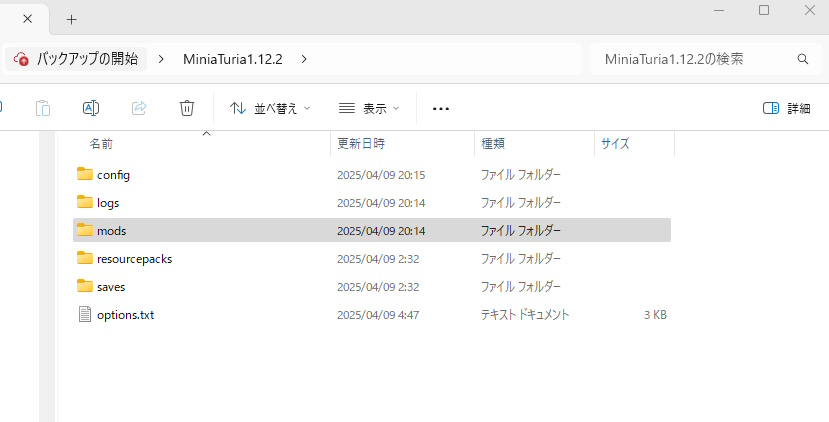
If folders were automatically created inside your dedicated folder, the installation profile is set up correctly! Then close Minecraft for now.
⚠️ The first launch must be vanilla 1.12.2 (no mods). This is required before installing mods.